How to Print Logo Designs on Canvas

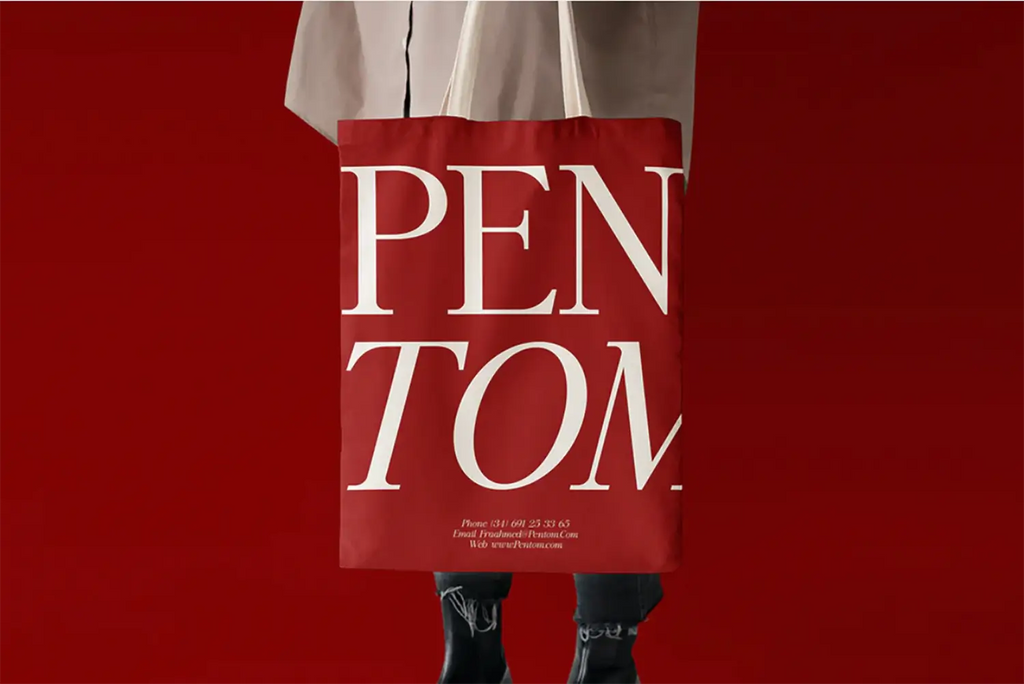
Source: HOSSAM AHMED, PENTOM, Behance, https://www.behance.net/gallery/171883075/PENTOM
Printing your logo on canvas offers a unique opportunity to showcase your brand in a visually compelling and durable format. Whether for office decor, promotional events, or as part of a creative project, canvas prints bring a touch of sophistication and originality. This guide delves into the essentials of printing logo designs on canvas, from selecting the right materials to the finishing touches that enhance longevity and impact.
Understanding the characteristics of canvas as a medium is crucial for achieving the best results. It combines the texture of fabric with the durability of a painting's surface, making it an ideal choice for prints that need to stand out and endure over time. The process involves several key steps—choosing the right type of canvas, ensuring your logo is prepared in high-quality format, and employing the correct printing techniques to preserve color fidelity and detail.
This article provides a step-by-step approach to help you successfully print your logo on canvas, ensuring it reflects your brand’s ethos with clarity and style. Let’s explore the best practices to turn your logo into an impressive canvas masterpiece.
Understand Canvas Textures
When planning to print logo designs on canvas, understanding the different textures available is key to achieving the desired visual effect. Canvas texture influences the ink absorption and the sharpness of the printed image, thereby affecting the overall presentation of your logo.
The most common canvas textures are smooth, medium, and rough. Smooth canvas provides a fine surface that is ideal for highly detailed logos as it supports sharper details and vibrant colors. Medium-textured canvas, being slightly rougher, offers a good balance between detail and the traditional canvas look, making it suitable for a wide range of designs. Rough textures, with their pronounced weave, lend a unique character to the print, ideal for logos that aim for a rustic or vintage effect.
Choosing the right canvas texture depends largely on the visual style of your logo and the impression you wish to convey. A smoother canvas might be perfect for modern, sleek designs, while a rougher texture could complement a logo with a classic or rugged style.
Consider the viewing distance. Logos printed on rougher textures work well for larger displays where viewers typically stand further away, as the texture adds depth and interest. Conversely, smooth canvases are better for close-up viewing, where finer details are more noticeable.
Prepare Your Logo File
Preparing your logo file correctly is crucial for ensuring high-quality prints on canvas. The file preparation process involves several important steps that directly impact the final print's clarity, color accuracy, and overall aesthetic appeal.
Firstly, always use vector files for printing logos on canvas. Vector graphics, typically in formats such as AI, EPS, or SVG, allow for infinite scaling without loss of resolution. This means that no matter the size of your canvas, your logo will maintain its sharpness and detail.
Secondly, ensure that your logo’s color profile matches the printer’s specifications. Canvas printers often use CMYK color models, so converting your logo from RGB to CMYK is essential to avoid color shifts during printing. This step is crucial for maintaining the vibrancy and accuracy of your logo's colors on canvas.
Additionally, consider the resolution of your logo file. For canvas printing, a resolution of 300 dpi (dots per inch) is recommended at the actual size it will be printed. This high resolution ensures that the details of your logo are crisp and visible, even when viewed up close.
Add necessary bleeds and margins to your file. Canvas prints often wrap around the frame, so extending your background color or design elements slightly beyond the intended cut line ensures no unprinted edges occur in the final product.
Color Calibration
Color calibration is a critical step in the process of printing logo designs on canvas to ensure that the colors of your printed logo accurately reflect your original design. Due to differences in monitor settings and printing processes, colors can appear differently on screen compared to their printed versions on canvas.
To begin with, calibrate your computer monitor. This involves adjusting your screen settings to meet standard color specifications, which helps in achieving a more accurate on-screen display. Calibration tools or software can be used to get precise color matching.
Next, understand the color profile that your canvas printer uses. Most canvas printing services operate with a CMYK (Cyan, Magenta, Yellow, Black) color model, which can differ significantly from the RGB (Red, Green, Blue) used in digital designs. Converting your logo from RGB to CMYK before printing is essential to manage color expectations accurately.
Furthermore, it's advisable to consult with your printing service to know about their specific color capabilities. Some printers offer color matching services where they adjust the hues to come as close as possible to your original design.
Lastly, keep in mind that the texture of the canvas can affect color absorption and reflection. Lighter textures tend to display colors more vividly, while heavier textures might absorb more ink, affecting the brightness and saturation of colors.

Source: Brand Lover, Ruma Brand, Dribbble, https://dribbble.com/shots/12006210-Ruma-Brand
Test Print First
Before committing to a full-sized canvas print of your logo, conducting a test print is essential. This preliminary step helps verify that the colors, details, and overall look of your logo align with your expectations when transferred onto canvas.
Start by selecting a smaller section of your design that features critical elements, such as main colors, detailed graphics, or text. Print this sample on the same canvas material you intend to use for the final product. This approach helps assess how the actual canvas texture affects your logo’s appearance.
Pay close attention to color accuracy and detail resolution in your test print. Canvas can sometimes alter visual aspects of your design due to its textured surface and the way it absorbs ink. If the test print reveals any discrepancies in colors or clarity, you have an opportunity to adjust your design or calibration settings accordingly.
It is also a good practice to view the test print under different lighting conditions. Lighting can dramatically influence how colors and details are perceived. What looks good under artificial light might not look the same in natural daylight.
A test print not only minimizes the risk of unsatisfactory results but also provides peace of mind before the final, often more expensive, production run. Ensuring that your logo looks perfect in the test phase paves the way for a successful and impactful final print on canvas.
Use Archival Inks
When printing logo designs on canvas, selecting the right type of ink is crucial for ensuring longevity and color fidelity. Archival inks are an excellent choice for canvas prints as they offer superior resistance to the elements and can maintain the vibrancy of your colors for decades.
Archival inks are specifically formulated to be resistant to environmental factors such as UV rays and humidity, which can cause fading and degradation over time. These inks contain pigment-based particles, which are more stable than the dye-based inks used in standard printing. This stability helps prevent the colors in your logo from fading, ensuring that the design remains clear and vibrant even when exposed to sunlight or harsh lighting conditions.
Moreover, archival inks adhere well to the canvas surface, enhancing the print’s overall durability. They penetrate deeply into the canvas fibers, creating a strong bond that is less prone to cracking or peeling. This is particularly important for canvas prints that may be stretched over frames or handled frequently.
Using archival inks for your canvas prints not only enhances the aesthetic quality of your logo but also adds value by extending the artwork’s lifespan. This makes archival inks an ideal choice for businesses that want to present a professional image while ensuring their branding remains as impactful as the day it was printed.
Adjust Logo Size Appropriately
The size of your logo on a canvas print can greatly influence its impact and legibility. When preparing to print logo designs on canvas, it is essential to adjust the size of your logo appropriately to ensure it is both visually striking and easy to recognize.
To determine the ideal size for your logo, consider the intended viewing distance. Logos intended to be viewed from a close range should have finer details, which might get lost if viewed from farther away. For larger canvases that are meant to be seen from a distance, scale up your logo to ensure that its main features are easily discernible.
Another important consideration is the resolution of your logo. Ensure that your logo’s resolution is high enough to prevent pixelation when scaled up. Typically, a resolution of 300 dpi (dots per inch) is recommended for printing on canvas to maintain sharp and clear imagery.
It’s also crucial to maintain balance in the design. A logo that is too large might overwhelm the canvas and detract from other design elements, while one that is too small may not convey your brand’s message effectively. Aim for a size that complements the overall composition of the print and aligns with the dimensions of the canvas.
Consider the Edge Wrap
When printing logo designs on canvas, considering how the edges of the canvas are treated, known as the 'edge wrap', is essential for achieving a professional finish. The edge wrap can significantly affect the aesthetic appeal of your canvas print, especially if it is to be displayed without a frame.
There are mainly three options for edge wraps: image wrap, mirror wrap, and color border. An image wrap extends the logo or background design over the sides of the canvas, creating a continuous look that enhances the three-dimensional effect. This is ideal if the crucial elements of your logo are centrally placed and won't be distorted by wrapping around the edges.
A mirror wrap reflects the edges of your image onto the sides of the canvas, which can help maintain the full view of your logo on the front while still offering a finished look from all angles. This method is particularly useful for logos that need to maintain visibility of every detail from the front view.
Alternatively, choosing a color border involves wrapping the edges with a solid color, typically one that complements the logo. This option works well if extending or mirroring the logo doesn’t suit the design or if a minimalist look is preferred.
Selecting the right edge wrap will depend on your logo’s design and where the canvas will be displayed. Each option offers a different visual impact and can contribute to the overall branding and aesthetic of your space.

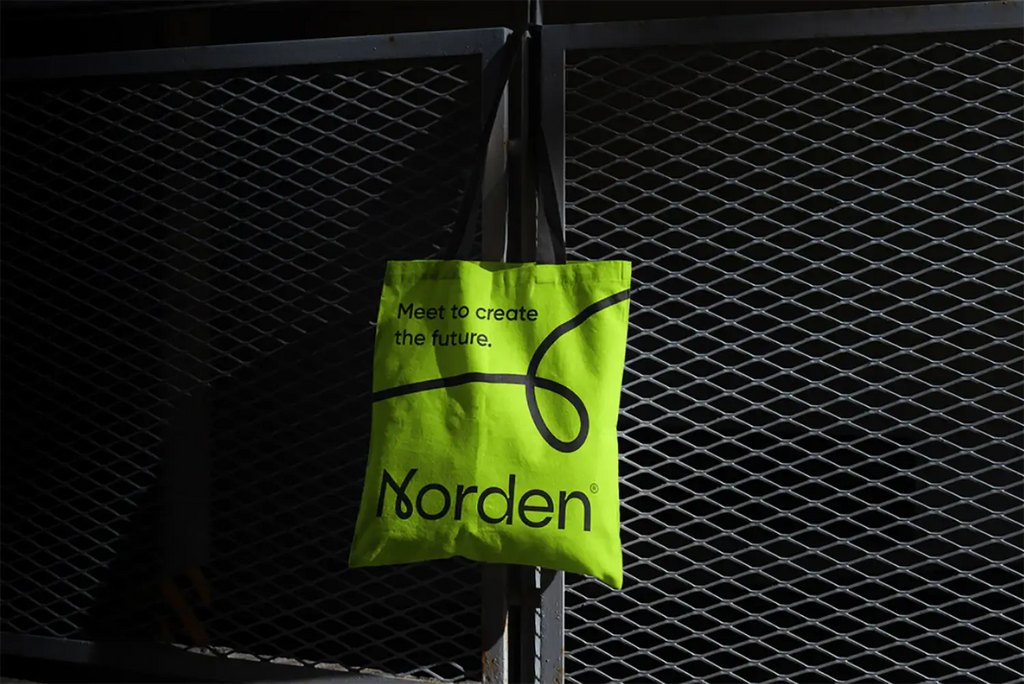
Source: Izaz Mahammad, Norden - Brand Identity, Behance, https://www.behance.net/gallery/166946465/Norden-Brand-Identity-Design
Protect the Print Surface
Protecting the print surface is crucial for maintaining the longevity and appearance of your canvas printed logos. Canvas, being a fabric-based material, is susceptible to environmental factors such as dust, moisture, and UV light, which can degrade the print quality over time.
To safeguard your canvas logo print, applying a protective coating is highly recommended. There are several types of protective coatings available, including varnish and laminate options, which can be applied over the ink. These coatings not only enhance the durability of the print by resisting scratches and scuffs but also provide a barrier against UV radiation, which can cause colors to fade.
UV protective sprays are particularly effective for canvas prints as they add an invisible layer of protection without altering the texture of the canvas. These sprays prevent the color pigments from fading and help maintain the vibrancy of your logo.
In addition to protective coatings, proper care and maintenance are important. Avoid placing the canvas in direct sunlight or in areas with high humidity. When cleaning the canvas, use a soft, dry brush or cloth to gently remove any accumulated dust. Avoid using chemical cleaners or abrasive materials that could damage the ink and canvas fibers.
Stretching the Canvas
Stretching the canvas is a critical step in the presentation of your printed logo designs, ensuring they are displayed properly and maintain their structural integrity over time. This process involves pulling the canvas over a stretcher bar frame and securing it in place to create a smooth, tight surface that enhances the visual impact of the print.
Begin by selecting a sturdy stretcher frame that matches the dimensions of your canvas print. It’s important to choose a frame made from durable materials like kiln-dried wood, which resists warping and provides a stable foundation for your canvas.
The technique of stretching should be done carefully to avoid any distortions in the logo. Start by aligning the canvas with the frame, and gradually attach the canvas to the stretcher using staples or tacks. Begin from the center of each side and work your way towards the corners, pulling the canvas taut as you go. This method helps prevent puckering and ensures an even tension across the entire surface.
For logos that require precise alignment or have detailed graphics, consider hiring a professional to stretch the canvas. They have the tools and expertise to handle the material without damaging the print or causing misalignment.
Properly stretched canvas not only looks more professional but also prevents sagging and stretching over time, keeping your logo in perfect shape to represent your brand effectively.
Frame for Additional Protection
Framing your canvas printed logos not only enhances their aesthetic appeal but also provides additional protection. A frame shields the edges and corners of the canvas from wear, impacts, and environmental damage, extending the lifespan of your artwork.
When selecting a frame for your canvas print, consider the style and color that best complement your logo design. Frames come in a variety of materials, including wood, metal, and synthetic options, each offering different levels of durability and visual impact. A well-chosen frame can accentuate your logo’s features and align with your brand’s aesthetic.
For additional protection, opt for a frame that includes a glass or acrylic front. This cover helps protect the canvas from dust, moisture, and direct contact, which can degrade the print over time. Acrylic is often preferred for its lighter weight and shatter-resistant properties, making it a safer choice especially in high-traffic areas.
Ensure that the frame is properly sealed and the back of the canvas is covered. This prevents dust accumulation and protects against insects and environmental factors that could potentially damage the canvas.
Incorporating a frame into your canvas print setup not only secures your logo design but also provides a polished, professional look that elevates the presentation of your brand. Consider consulting with framing professionals who can offer custom solutions tailored to your specific needs and preferences.
Conclusion
Printing your logo on canvas is an excellent way to elevate your brand's visibility and aesthetic appeal. By understanding the nuances of canvas textures, ensuring proper color calibration, and using archival inks, you can achieve outstanding durability and vibrancy in your prints. Remember, the success of your canvas print also depends on careful preparation, from adjusting the logo size to considering the edge wrap and protective measures. With the right approach, a canvas logo print can be a long-lasting, impressive display that effectively communicates your brand’s message and values.
Let Us Know What You Think!
Every information you read here are written and curated by Kreafolk's team, carefully pieced together with our creative community in mind. Did you enjoy our contents? Leave a comment below and share your thoughts. Cheers to more creative articles and inspirations!


Leave a Comment