How To Print Logo Designs for Embroidery

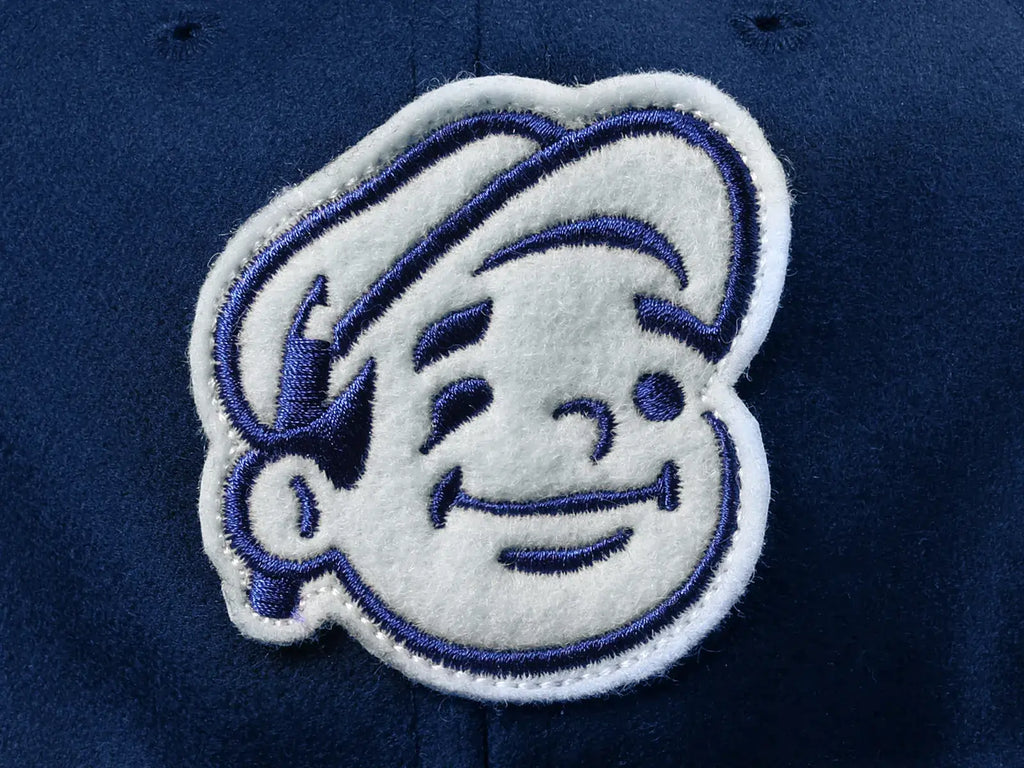
Source: Matt Naylor, Dunn Lumber Hat (detail), Dribbble, https://dribbble.com/shots/18114825-Dunn-Lumber-Hat-detail
Embroidery is a time-honored method of adding a professional and durable touch to logos on apparel, accessories, and promotional materials. Unlike digital or screen printing, embroidery uses thread to create a raised, textured design that enhances the visual appeal of a logo. However, not all logo designs are suited for embroidery without proper preparation. To achieve high-quality results, businesses and designers must follow a structured process to convert and print logo designs for embroidery.
The process begins with selecting a logo that translates well into stitches, ensuring it remains legible and visually striking on fabric. Factors such as color limitations, stitch types, and fabric texture all play crucial roles in determining the outcome. Converting the logo into an embroidery-compatible format is essential, as it dictates how the stitches will be applied. Additionally, choosing the right thread type, adjusting stitch density, and using stabilizers help maintain the integrity of the design.
Understanding these technical aspects is vital for businesses, designers, and embroidery professionals looking to create high-quality embroidered logos. This article provides a step-by-step guide on how to print logo designs for embroidery, ensuring precision, durability, and a professional finish across different materials and applications.
Choose a Suitable Logo Design
Selecting the right logo design is crucial when preparing for embroidery. Unlike digital printing, embroidery relies on thread, which means intricate details and complex gradients may not translate well. To achieve a clean and professional look, a logo should be simplified without losing its brand identity.
One of the key considerations is line thickness. Extremely thin lines or small text can become unreadable once stitched, as embroidery machines have a limit on how fine they can sew. Opting for bold, well-defined elements ensures that the design remains legible even on small surfaces like caps or polo shirts.
Color selection also plays a significant role. Embroidery does not blend colors like printing, so gradient effects or shading need to be adjusted. Designers should use solid, distinct colors that work well in thread format. Additionally, considering the fabric color is essential, as it may affect how the logo appears once embroidered.
Another factor to consider is negative space and scaling. Some logos rely on negative space to define their shape, but embroidery may not always capture fine details accurately. Simplifying such elements helps maintain clarity. Likewise, resizing the logo for different apparel applications should not compromise its readability or proportions.
Convert the Logo to Vector Format
Converting a logo to vector format is an essential step when preparing it for embroidery. Unlike raster images (such as JPEGs or PNGs), vector graphics use mathematical paths that allow infinite scaling without losing quality. This ensures that the logo remains crisp and clear, regardless of size adjustments needed for different embroidery applications.
Vector formats such as AI, EPS, or SVG offer flexibility for embroidery digitization. These formats allow designers to modify elements like line thickness, spacing, and shapes to ensure compatibility with embroidery machines. Additionally, vector graphics provide a smooth foundation for creating stitch paths, reducing the risk of pixelation or rough edges in the final embroidered output.
When converting a logo, removing unnecessary details is crucial. Embroidery cannot accurately replicate intricate textures, shadows, or gradients, so simplifying the design while maintaining brand identity is key. Designers should also ensure that all text is outlined or converted to shapes to prevent font compatibility issues during embroidery processing.
Another important factor is color separation. Since embroidery requires distinct thread colors rather than blended tones, defining solid color blocks in a vector format helps streamline the stitch programming process. Each color section should be assigned a single shade that can be easily matched with embroidery thread options.
Use Embroidery-Specific Software
Using embroidery-specific software is essential to convert and optimize logo designs for stitching. Unlike standard graphic design tools, embroidery software ensures that every element of the design translates effectively into thread, stitch by stitch. Programs such as Wilcom, Brother PE-Design, Hatch, and Tajima DG16 provide advanced features to create embroidery-friendly designs with precise stitch mapping.
One of the main functions of embroidery software is digitization, the process of converting a vector or raster logo into a stitch file. This step determines the type of stitches used, their density, and direction. Without proper digitization, logos may lose clarity, become distorted, or result in inefficient thread usage.
Another key feature of embroidery software is stitch simulation. This allows designers to preview how the logo will appear once embroidered, helping to identify potential issues such as overlapping threads, uneven stitch patterns, or excessive density. Adjustments can be made before production, reducing material waste and rework.
Additionally, embroidery software allows for automatic stitch conversion, adjusting complex shapes and fonts to fit embroidery constraints. Some tools even provide fabric-specific settings, ensuring the stitches hold well on different materials such as cotton, polyester, or denim.

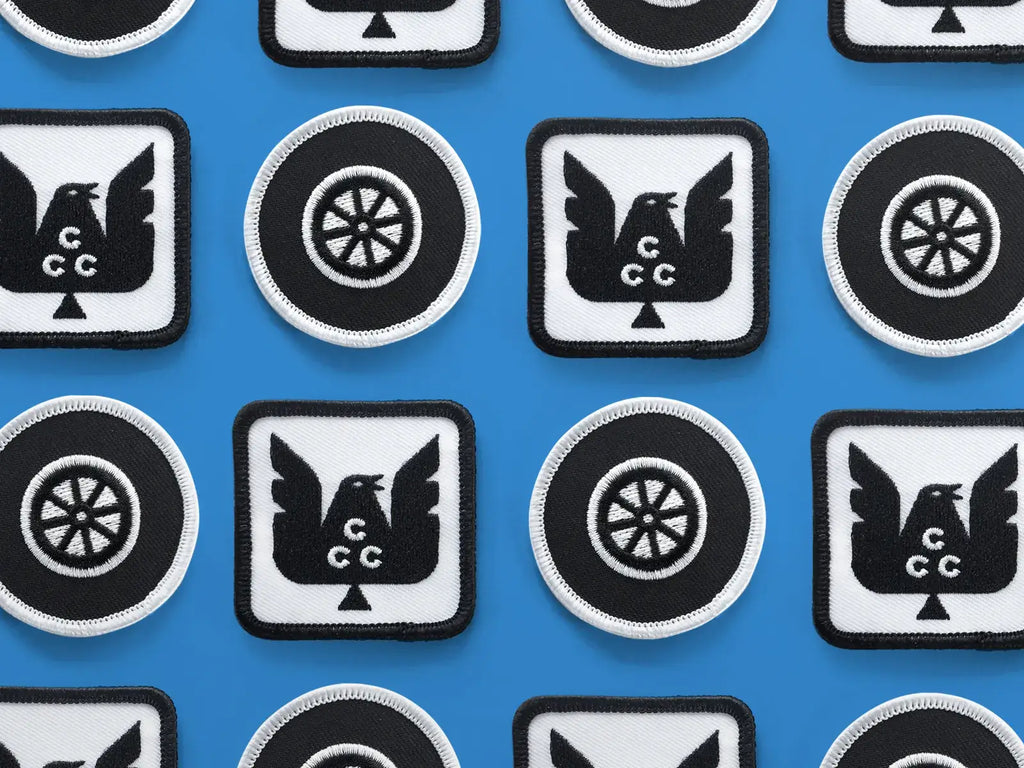
Source: Eight Hour Day, Car Car Club Patches, Dribbble, https://dribbble.com/shots/6866787-Car-Car-Club-Patches
Simplify Color Choices
Simplifying color choices is crucial when printing logo designs for embroidery. Unlike digital printing, which allows for complex gradients and unlimited hues, embroidery relies on solid thread colors that must be carefully selected to maintain logo clarity and brand identity.
Embroidery machines do not blend colors the way printers do, so eliminating gradients and excessive shading is essential. If a logo originally includes fades or multi-tone effects, designers should convert them into distinct, single-color areas that can be accurately replicated with thread. This ensures a clean and professional embroidered result.
Another key consideration is thread availability. While there are many embroidery thread colors on the market, they do not cover every possible shade. Designers should choose the closest thread match available while keeping in mind the limitations of embroidery materials. Some manufacturers, like Madeira or Isacord, offer extensive thread color libraries that help achieve accurate brand representation.
Contrast also plays a vital role in ensuring logo visibility. Colors that are too similar may blend into each other when stitched, making details hard to distinguish. Selecting high-contrast colors helps maintain definition, especially on small or intricate logos. Additionally, the fabric color should be considered, as it may influence how well certain shades stand out.
Determine Stitch Types
Choosing the right stitch type is essential when preparing logo designs for embroidery. Different stitch types create varying textures, depths, and finishes, affecting both the visual appeal and durability of the final embroidered design. Selecting the appropriate stitch ensures the logo is legible and properly adapted to the fabric.
The satin stitch is one of the most commonly used for embroidery, particularly for lettering and outlines. It provides a smooth, glossy finish and is ideal for small to medium-sized text and details. However, for wider areas, a satin stitch may create excessive thread density, leading to puckering or looping.
For larger fill areas, a tatami or fill stitch is more effective. This stitch type consists of multiple rows of stitches that provide coverage without excessive bulk. It works well for solid sections of a logo, ensuring even thread distribution while maintaining fabric stability.
A running stitch is typically used for fine details, outlines, or delicate designs. It consists of single, continuous stitches and is best for subtle accents rather than main design elements. However, because it is a thin stitch, it may not be as durable in high-wear applications.
Choosing the correct stitch type helps balance aesthetics, durability, and efficiency in embroidery. By analyzing the logo’s design and fabric type, designers can select the most suitable stitch technique to ensure a professional and long-lasting embroidered finish.
Adjust for Stitch Density
Stitch density is a critical factor in embroidery, as it determines the spacing and layering of stitches within a design. Proper stitch density ensures that logo designs appear crisp and structured without causing issues like puckering, excessive thread buildup, or weak stitching.
High stitch density can lead to thick, stiff embroidery that may be uncomfortable on fabric. It can also result in excessive thread layering, which may cause the design to become distorted or pull the fabric out of shape. To prevent this, designers must balance stitch density to allow for smooth, even stitching without overloading any part of the design.
Conversely, low stitch density may result in gaps, making the logo appear unfinished or too loose. This is especially problematic for large embroidered areas, where visible fabric through the stitching can reduce the logo’s clarity and professionalism. Adjusting stitch density ensures that the embroidery maintains structure while avoiding unnecessary strain on the fabric.
Different stitch types require different density settings. Satin stitches, for example, need enough density to maintain their signature smooth appearance but should not be too thick to cause bulkiness. Fill stitches require a balanced density to ensure solid coverage without stiffness.
Resize the Logo Accordingly
Resizing a logo correctly is a crucial step in preparing it for embroidery. Unlike digital printing, embroidery requires careful adjustments to maintain clarity, balance, and legibility at different sizes. A poorly scaled logo can result in distorted elements, unreadable text, or excessive thread density that affects the final stitched design.
One of the biggest challenges when resizing is maintaining proportionality. If a logo is scaled down too much, fine details, intricate patterns, or small text may become unrecognizable. In contrast, enlarging the design excessively may cause stitching issues such as excessive pull on the fabric, leading to puckering or misalignment.
Lettering and fine details require special attention. If a logo contains text, it should be resized with embroidery constraints in mind. Generally, text smaller than 0.25 inches may become unreadable due to the limitations of stitching precision. Adjusting font size or switching to a bolder, embroidery-friendly typeface ensures legibility.
Additionally, fabric type affects how a resized logo appears. A larger logo might work well on jackets or tote bags but may look awkward on caps or small apparel sections. Before finalizing the embroidery file, testing different logo sizes based on the intended application helps achieve an optimal balance.
Properly resizing the logo ensures it looks professional and aesthetically pleasing on various embroidered products. By adjusting proportions carefully and considering embroidery limitations, designers can create a logo that translates well across multiple fabric sizes and applications.

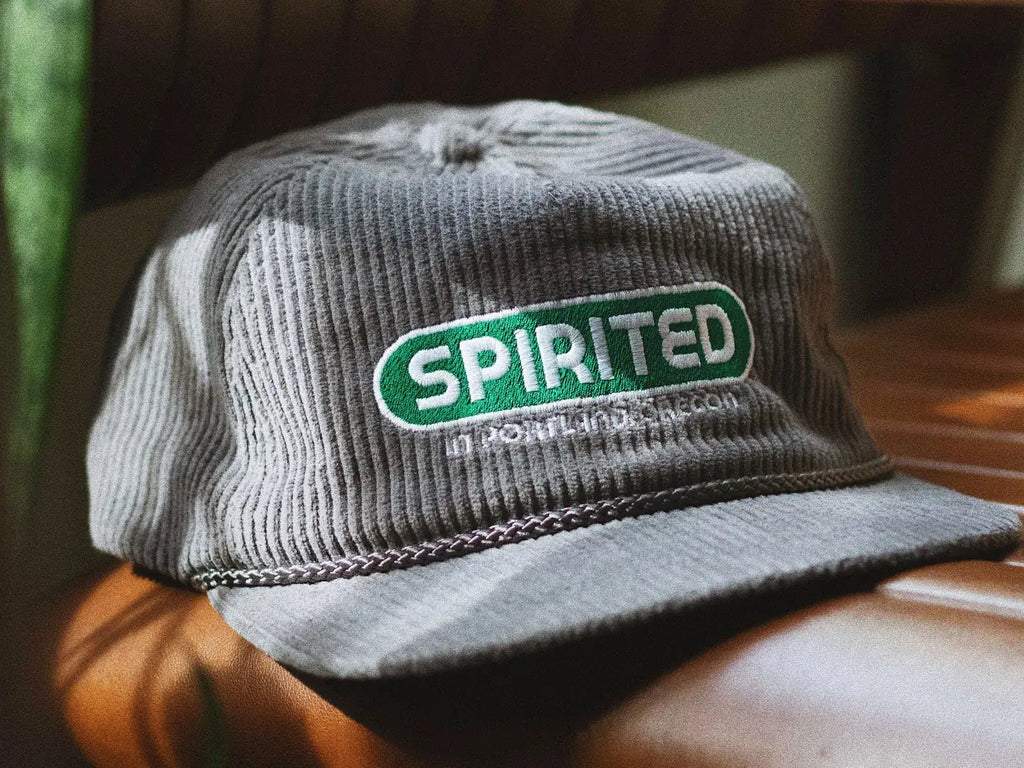
Source: Zachary Keimig, Spirited Cap 02, Dribbble, https://dribbble.com/shots/18233089-Spirited-Cap-02
Test on a Sample Fabric
Testing a logo on a sample fabric before full production is essential for ensuring high-quality embroidery results. Embroidery involves multiple variables, including fabric type, thread tension, and stitch density, all of which can affect the final appearance. A sample run allows designers and manufacturers to identify potential issues and make necessary adjustments before mass production.
Fabric selection plays a crucial role in embroidery outcomes. Different materials respond differently to stitching; for example, thick fabrics like denim or canvas can handle higher stitch density, while delicate fabrics such as silk or lightweight cotton may require adjustments to prevent puckering or thread breakage. Testing on the actual fabric to be used ensures the logo stitches properly and maintains its shape.
During the sample test, designers should evaluate stitch accuracy, thread tension, and color matching. Sometimes, what looks good on screen may not translate well when stitched. Colors might not contrast as expected, or certain stitch areas may appear too dense or too sparse. Making small modifications at this stage can prevent costly mistakes in large-scale embroidery projects.
Additionally, assessing durability is important. Washing and ironing the test embroidery can reveal weaknesses in the stitching, ensuring the final product withstands regular wear and tear.
Select the Right Thread Material
Choosing the right thread material is essential when preparing to print logo designs through embroidery. The type of thread used directly impacts the logo’s durability, texture, and overall visual appeal. With various thread options available, selecting the best material ensures the embroidery maintains its quality over time.
Polyester and rayon threads are the most commonly used in embroidery. Polyester thread is known for its durability, colorfastness, and resistance to fading or shrinking. It is ideal for logos on apparel that require frequent washing, such as uniforms or sportswear. Rayon thread, on the other hand, offers a smooth, high-shine finish, making it a popular choice for decorative embroidery or detailed logo designs with a luxurious appearance.
Cotton threads provide a matte, natural look and work well for traditional or vintage-style embroidery. However, they are less durable than polyester and may not withstand heavy wear. Metallic threads can add a premium touch to embroidered logos, but they require careful handling due to their tendency to fray or break.
In addition to material selection, thread weight is an important consideration. Standard 40-weight thread is widely used for most embroidery applications, while thicker threads (e.g., 30-weight) provide bold, raised designs suitable for larger logos.
Consider Fabric Type
Fabric type plays a crucial role in the success of embroidered logo designs. Each fabric reacts differently to stitching, affecting how the final embroidery appears and holds up over time. Selecting the right approach based on fabric properties ensures a clean, professional finish.
Thicker fabrics, such as denim, canvas, and fleece, provide strong support for embroidery. These materials can handle high stitch density and bold designs without losing structural integrity. They also work well with heavy threads, making them ideal for detailed logos with solid fills and larger lettering.
Lightweight and stretchy fabrics, such as silk, jersey, or polyester blends, require special handling. These materials can shift during embroidery, leading to distortion or puckering. To prevent this, stabilizers and backing materials must be used to keep the fabric in place. Additionally, choosing lighter stitch densities ensures that the embroidery does not pull or wrinkle the material.
Textured fabrics, such as pique (commonly found in polo shirts) or towels, require adjustments in stitch techniques. Designs should avoid fine details, as the fabric’s uneven surface can obscure small elements. Bold lettering and satin stitches often work best for these types of materials.
Considering the fabric’s durability and intended use is also important. If the logo will be embroidered on workwear or items subjected to frequent washing, both the fabric and thread must be chosen for maximum longevity.
By understanding fabric characteristics and making the right adjustments, designers can ensure embroidered logos remain sharp, legible, and durable across different applications.
Conclusion
Printing logo designs for embroidery requires careful planning and attention to detail. From choosing a suitable design and converting it to a vector format to selecting the right thread and fabric, each step ensures a high-quality, professional finish. Proper stitch selection, density adjustments, and test runs help prevent errors and enhance durability. Embroidery-specific software plays a key role in digitizing and refining designs for precision stitching. By following these best practices, businesses and designers can create visually striking embroidered logos that maintain brand identity, withstand wear, and deliver a polished, long-lasting impression on various fabrics and applications.
Let Us Know What You Think!
Every information you read here are written and curated by Kreafolk's team, carefully pieced together with our creative community in mind. Did you enjoy our contents? Leave a comment below and share your thoughts. Cheers to more creative articles and inspirations!


Leave a Comment