
How to Print Logo Designs for Window Displays
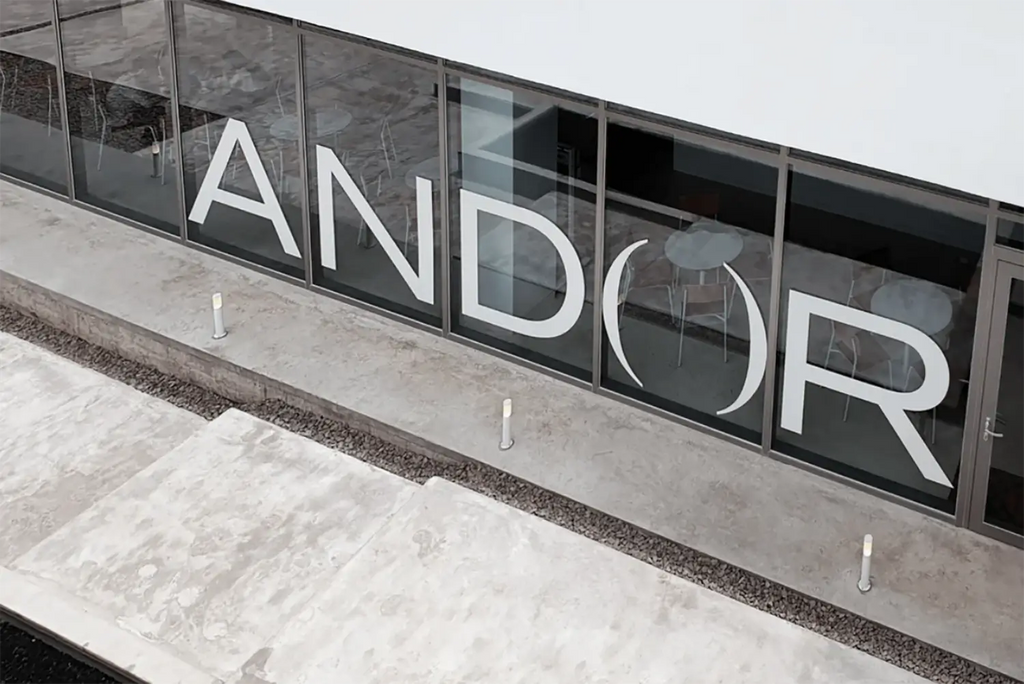
Source: Mmpx Inc, Andor Bakery & Coffee Brand Identity, Behance, https://www.behance.net/gallery/137349115/Andor-Bakery-Coffee-Brand-Identity
A logo printed on glass can turn an ordinary window into a visible branding surface. Storefronts, offices, studios, pop-up shops, and event spaces use window graphics to communicate identity before anyone enters. However, enlarging a logo and sending it straight to print rarely produces the strongest result. Glass introduces challenges that do not appear on paper or solid signs. Reflections, changing light, interior backgrounds, viewing distance, and installation direction can all affect clarity. The material must also suit the location, display period, and desired transparency. When you plan to print logo on window displays, begin with the environment. Consider who will see the graphic, where they will stand, how long it should remain, and how the glass looks throughout the day. These decisions guide the file setup, material, size, production method, and installation.
Define the Purpose of the Window Logo
Before choosing vinyl or preparing artwork, decide what the logo needs to achieve. Permanent identity graphics require different materials and placement from temporary promotional decals. A clear purpose keeps the design focused and avoids unnecessary production costs.
Permanent Storefront Branding
Long-term window logos need durable vinyl, stable color, and placement that remains relevant throughout the year. The design should be simple enough to recognize quickly from the pavement or road. Consider sunlight, rain, cleaning products, and temperature changes when selecting the material.
Temporary Promotions and Events
Seasonal campaigns, launches, exhibitions, and pop-up stores benefit from removable film or static cling. These materials make updates easier and reduce adhesive residue. When the logo supports a larger promotional message, leave enough space around it to preserve recognition.
Privacy and Decorative Applications
Frosted or patterned film can combine branding with privacy. This approach suits offices, clinics, studios, and meeting rooms where full transparency is not desirable. The logo may be cut from the frosted area, printed over it, or positioned as a separate graphic.
Choose the Right Window Graphic Material
Material choice affects appearance, durability, removal, and installation. Matching the film to the conditions is one of the most important steps when you print logo on window displays.
Adhesive Vinyl
Adhesive vinyl suits permanent and semi-permanent applications. It is available in solid colors, printable white, clear, metallic, and specialty finishes. Cut vinyl works for simple marks, while printable vinyl supports detailed artwork. Use outdoor-grade material for exposed windows.
Static Cling Film
Static cling uses no conventional adhesive, making it useful for short-term indoor displays. It can be repositioned and reused when handled carefully. It works best on smooth, clean glass and is less suitable for large exterior graphics.
Perforated Window Film
Perforated film uses small holes to preserve visibility from one side while displaying artwork on the other. It is useful for large storefront areas, but the perforation can soften fine detail. Bold, uncluttered logos perform best.
Frosted and Transparent Film
Frosted film creates a subtle finish and supports privacy-led branding. Transparent film allows light through, but colors can appear weak without white ink or backing. Both require careful contrast planning.
Prepare the Logo File for Printing
Proper file preparation prevents blurry edges, missing fonts, weak detail, and color surprises. It also helps the printer produce the graphic without unnecessary corrections.
Use Vector Artwork Whenever Possible
Vector formats such as AI, EPS, SVG, or print-ready PDF can scale without losing sharpness. This matters on large windows, where small flaws become noticeable. Raster files can work when their resolution is high enough at the final size.
Convert Fonts and Check Fine Details
Convert text to outlines to prevent font substitution or spacing changes. Thin lines, tiny gaps, and small lettering may disappear during cutting or become difficult to install. Simplify delicate elements while preserving the character of the logo.
Set the Correct Color Mode
Most digital printing uses CMYK, while spot colors may be suitable for cut vinyl and specific brand shades. Clear film may require white ink beneath printed colors to maintain opacity. Confirm how the printer handles transparency before approving the file.
Include the Final Dimensions
State the intended width and height clearly. Confirm if those measurements refer to the logo or the full decal area, including bleed and margins. Never rely on the printer to estimate scale from the artboard.
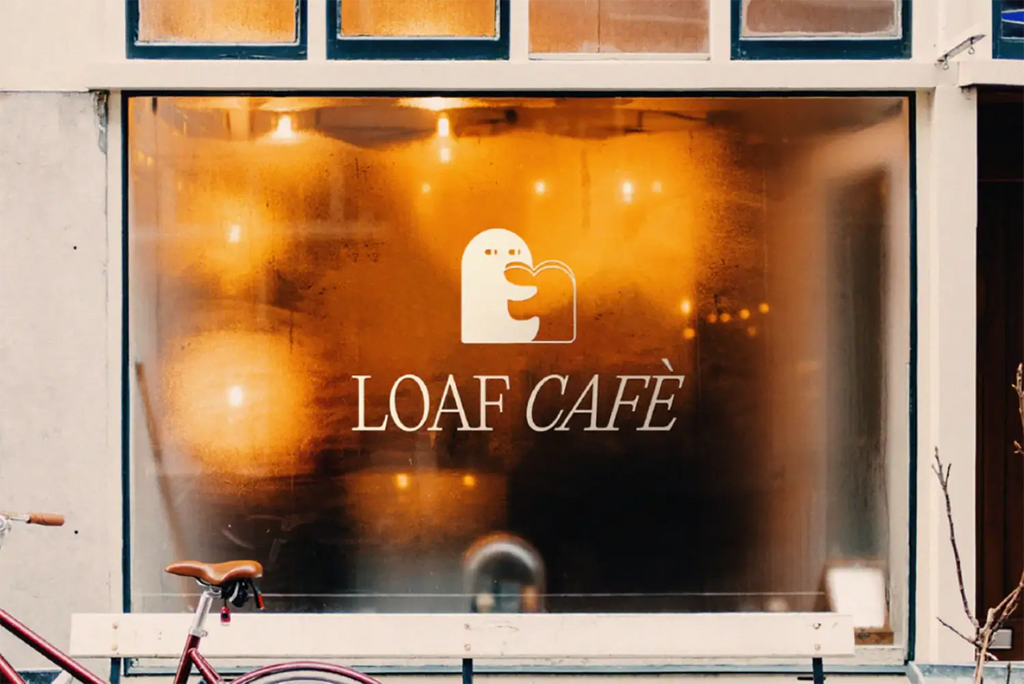
Source: Liya Petkova, Loaf Café Brand Identity, Behance, https://www.behance.net/gallery/165611409/Loaf-Caf-Brand-Identity
Plan the Size and Placement
A perfectly printed logo can still fail if it is too small, positioned too high, or blocked by objects inside the window. Placement should be tested in the actual environment.
Measure the Glass Accurately
Record the usable width and height of each pane, including frames, seals, handles, and divisions. Avoid placing important parts of the logo across joints or hardware. Measure separate windows individually because their dimensions may differ slightly.
Choose a Suitable Logo Scale
The logo should be recognizable from the main viewing distance without filling the entire pane. Leave generous negative space so the window does not feel crowded. A paper template or digital mockup can help confirm the scale.
Consider Viewing Direction
Decide if the graphic will be applied outside or installed inside and viewed through the glass. Inside applications often require mirrored cut vinyl or reverse printing. A double-sided solution may be needed when the logo must read correctly from both directions.
Account for Window Obstructions
Shelves, displays, curtains, lighting, and reflections can interfere with visibility. Review the planned position from inside and outside before production.
Design for Glass and Changing Light Conditions
Glass never provides a stable background. A logo may sit against a bright interior during the day, a dark room at night, or strong reflections in direct sunlight.
Strengthen Color Contrast
Light colors can disappear against bright interiors, while dark colors may lose impact after sunset. Strong contrast usually performs better than subtle tonal differences. Test the logo over photographs of the actual window under varied lighting.
Add a White Base Layer When Needed
White ink or white vinyl behind the design helps colors remain solid on clear film. Without it, colors may appear translucent or change according to objects behind the glass. A full white base creates opacity, while selective white ink preserves chosen transparent areas.
Test Daytime and Nighttime Visibility
Review the design in natural and artificial light. Interior illumination can improve visibility, but glare may reduce readability. A printed sample placed on the window often reveals issues that a digital preview misses.
Select the Printing and Cutting Method
The production method should match the logo’s detail, colors, and installation needs. Some marks work best as separate vinyl shapes, while others require full-color printing.
Cut Vinyl Lettering
Cut vinyl is effective for simple logos with solid colors and clean outlines. It creates crisp edges without a printed background. Very small or complex details may be difficult to weed and apply.
Full-Color Digital Printing
Digital printing supports gradients, textures, illustrations, and multiple colors. A protective laminate can improve durability. This method suits logos that cannot be separated into simple vinyl shapes.
Reverse Printing for Inside Application
Reverse printing allows the image to face outward while the adhesive remains inside the glass. This protects the graphic from weather, vandalism, and exterior cleaning. The artwork must be mirrored before production.
Contour Cutting
Contour cutting follows the outer shape of the printed logo instead of leaving a rectangle. The cut path needs enough margin to avoid trimming important details.
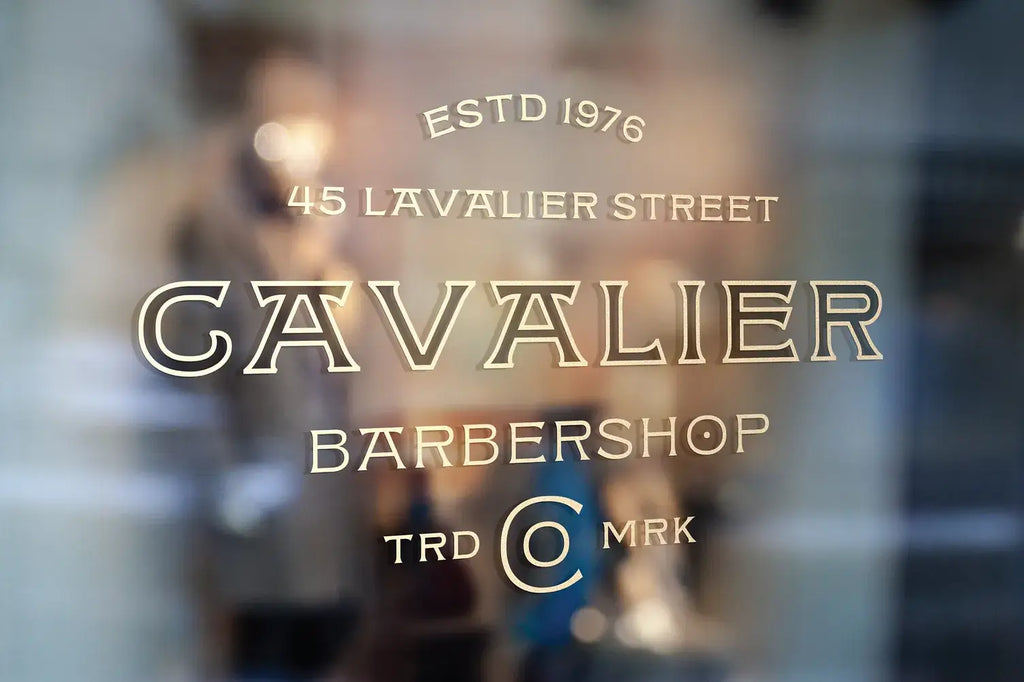
Source: Jeremy Vessey, Cavalier Barbershop [Typeface Used: Archway], Dribbble, https://dribbble.com/shots/19573912-Cavalier-Barbershop-Typeface-Used-Archway
Prepare the Window and Install the Graphic
Even a high-quality decal can look poor when applied to dirty glass or positioned hastily. Careful preparation prevents bubbles, dust, wrinkles, and uneven alignment.
Clean the Glass Thoroughly
Remove grease, dust, old adhesive, and cleaning residue with a lint-free cloth and suitable cleaner. Avoid products that leave wax or silicone behind. Let the surface dry fully.
Mark the Placement Before Applying
Use masking tape, removable guide marks, or measured reference points. Check alignment from a normal viewing distance. A tape hinge can hold smaller graphics in position during application.
Choose Between Dry and Wet Application
Dry application creates immediate adhesion and is common for small decals and cut vinyl. Wet application allows limited repositioning, but not every film supports it. Follow the material manufacturer’s instructions.
Apply Pressure Evenly
Use a squeegee to work from the center outward with steady pressure. Remove transfer tape slowly at a low angle after the vinyl has bonded.
Allow the Graphic to Set
Adhesive strength can increase over several hours. Avoid washing, scraping, or exposing the graphic to heavy moisture immediately after installation. Install within the recommended temperature range.
Check the Finished Window Display
Inspect the display from close range and the normal viewing distance. Check that the logo is level, centered, and free from large bubbles, creases, or lifting edges. Narrow details and corners deserve particular attention. Review the window from outside during daylight and after dark. Confirm that reflections, interior fixtures, and background objects do not reduce readability. Across multiple panes, compare height, spacing, and alignment so the branding feels consistent. Small air bubbles may settle depending on the material, but trapped debris, major bubbles, or misaligned sections usually need correction. A final inspection ensures the logo appears intentionally integrated with the window.
Conclusion
A successful window logo depends on connected decisions. The artwork must be prepared correctly, the material must suit the environment, and the size must support viewing from the intended distance. Contrast, white ink, lighting, and installation direction also shape the result. When you print logo on window displays, treat the glass as part of the design rather than an empty background. Measure carefully, test visibility, confirm production requirements, and install the graphic on a clean surface. These steps improve readability, protect brand colors, and create a cleaner finish. With proper planning, a window logo can strengthen a storefront or interior space without overwhelming the glass. It becomes a clear, professional part of the environment and communicates the brand before visitors enter.
Let Us Know What You Think!
Every information you read here are written and curated by Kreafolk's team, carefully pieced together with our creative community in mind. Did you enjoy our contents? Leave a comment below and share your thoughts. Cheers to more creative articles and inspirations!
LINK
For quick, small-scale applications or lightweight materials, double sided adhesive tape can be a simple and effective option. It provides strong adhesion for indoor use and allows for easy setup without professional tools. However, for larger or long-term window displays, stronger solutions such as adhesive-backed vinyl or removable adhesives are recommended.
Related Articles


Leave a Comment