
How to Print Logo Designs for Stickers
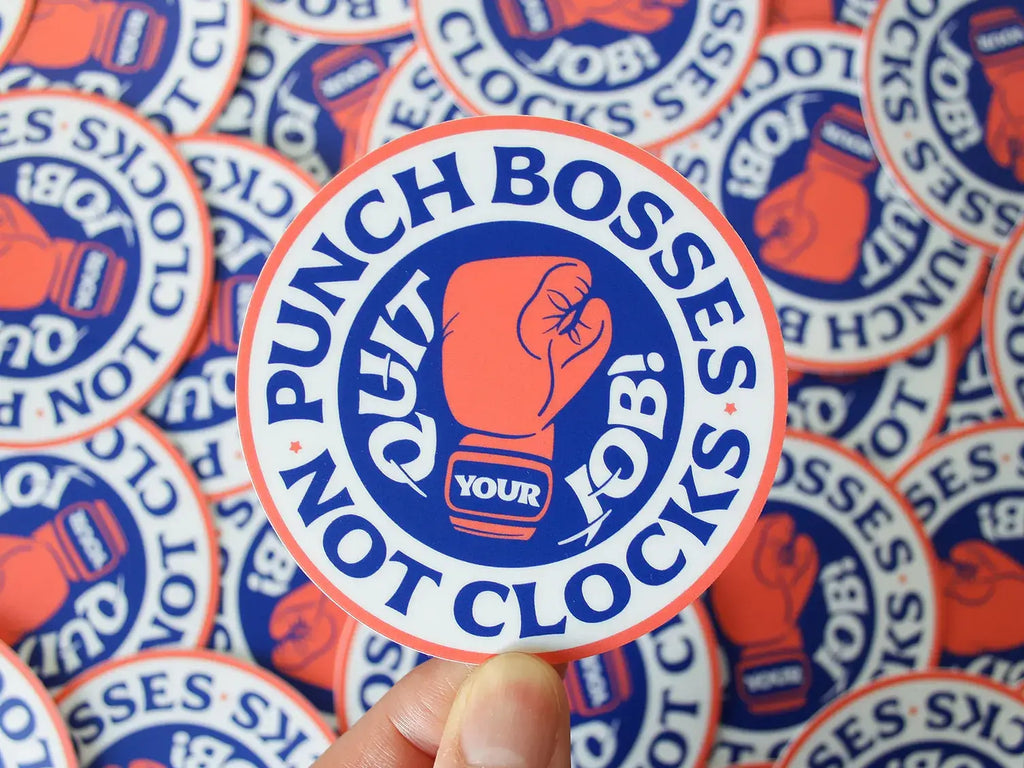
Source: Eric Lee, Quit Your Job!, Dribbble, https://dribbble.com/shots/17230655-Quit-your-job
A logo sticker may look simple, but the final quality depends on decisions made before printing. File format, image resolution, size, cutting setup, color mode, material, and finish all affect how clearly the logo appears once it leaves the screen. Learning how to print logo on stickers is useful for product packaging, customer orders, event materials, promotional giveaways, and branded stationery. Artwork that looks sharp on a monitor may become difficult to read when reduced to a small label. Careful preparation helps prevent fuzzy edges, weak colors, uneven borders, and details that disappear during trimming. By planning around the sticker’s actual use, you can produce a result that remains recognizable and consistent with the wider brand.
Decide How the Logo Sticker Will Be Used
Before adjusting the artwork, define where the sticker will go and how people will handle it. A label for indoor packaging has different requirements from one attached to a bottle, storefront window, laptop, or outdoor case. Its purpose should guide the material, adhesive, size, finish, and level of detail.
Identify the Application Surface
Smooth glass, coated cardboard, plastic, metal, and paper usually accept stickers easily. Textured, curved, flexible, or dusty surfaces may require stronger adhesives or more adaptable materials. Curved objects can also distort a wide logo, so a compact shape may wrap more cleanly around bottles and containers. For surfaces exposed to moisture, heat, sunlight, or cleaning, durable vinyl and protective lamination may be more suitable than uncoated paper.
Consider Viewing Distance and Handling
Small packaging stickers are normally viewed close up, while window or display stickers may need stronger contrast and simpler details. A sticker touched regularly should also resist scratches, oils, and moisture. Defining these conditions early simplifies production choices.
Prepare the Correct Logo File
A clean source file gives the printer the best chance of reproducing the logo accurately. Avoid screenshots or images copied from websites and social profiles. Those files are often compressed, undersized, or surrounded by unwanted backgrounds.
Use Vector Files When Possible
Vector formats such as AI, EPS, SVG, and print-ready PDF are usually the strongest choice. They are built from paths rather than fixed pixels, so the artwork can be resized without losing sharpness. This is valuable when the logo will appear at several sizes. Embed linked images and expand unsupported effects when requested.
Check Raster Image Resolution
PNG, TIFF, and JPEG files can work when prepared at the correct dimensions. Aim for about 300 PPI at the final print size. Enlarging a small raster image does not create real detail. Inspect the file at 100 percent scale. If curves look jagged or text appears soft, return to a higher-resolution source.
Convert Fonts and Preserve Transparency
Outline or embed fonts so the printer does not replace missing typefaces. For custom-shaped stickers, a transparent background can prevent an unwanted white rectangle from appearing behind the logo.
Choose the Right Sticker Size and Shape
Sticker dimensions influence readability, balance, cutting accuracy, and cost. A logo should not simply be reduced until it fits. Adjustments may be needed so details remain clear at the intended size.
Set the Final Dimensions before Exporting
Choose the physical dimensions in millimeters or inches before exporting. Designing at the final size makes it easier to judge line weight, spacing, type size, and resolution accurately. Print a paper test, cut it out, and place it on the intended object. This quickly reveals sizing or proportion problems.
Match the Shape to the Logo
Round stickers suit compact marks, seals, and monograms. Rectangular or oval formats often support horizontal wordmarks, while custom die-cut stickers can follow the logo’s outer contour. The cut shape should support the artwork rather than leave awkward empty areas. Matching the outline to the logo silhouette creates a more polished result.
Simplify Small Logo Stickers
Tiny taglines, narrow gaps, delicate outlines, and detailed illustrations can become unclear when printed small. If the full logo does not reproduce well, prepare a simplified variation using the symbol, initials, or main wordmark. This responsive version keeps the brand recognizable without making the sticker feel crowded.
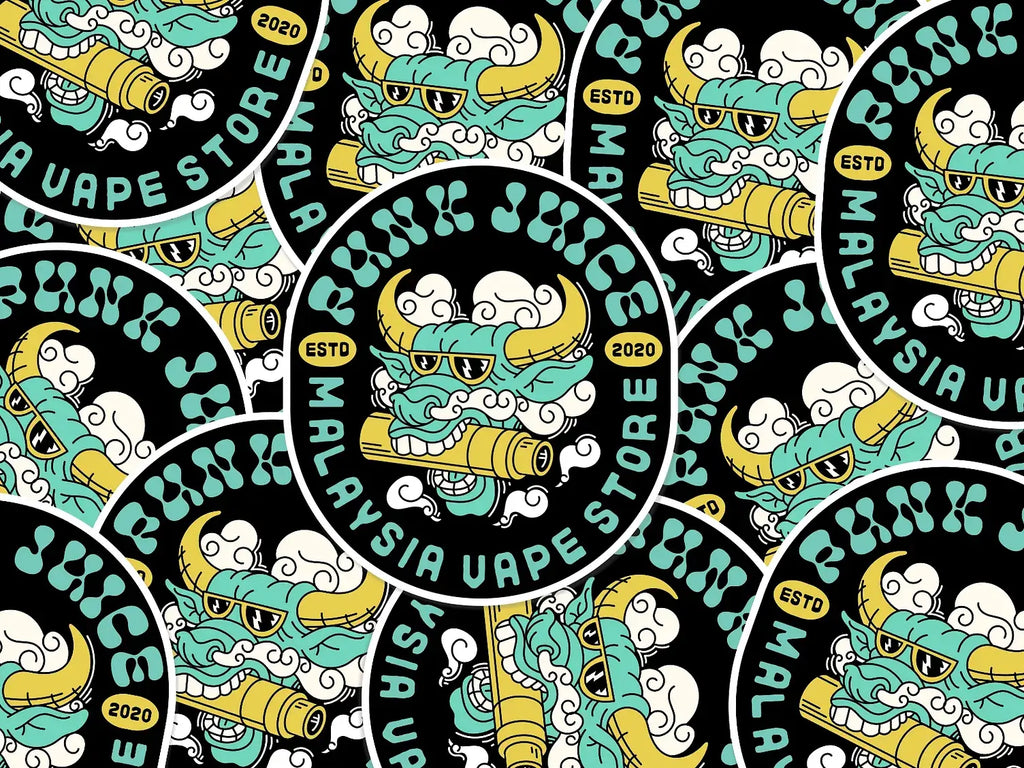
Source: Muhammad Bagus Prasetyo, Sticker, Dribbble, https://dribbble.com/shots/21566292-Sticker
Set Up Bleed, Borders, and Safe Areas
Bleed and safe areas protect the design from normal movement during trimming. Even accurate cutting equipment can shift slightly, so artwork placed directly on the edge may show uneven slivers or lose important details.
Add Bleed around Background Artwork
When a background color or image reaches the edge, extend it beyond the cut line. Many printers request about 3 millimeters or one-eighth inch of bleed, though requirements vary.
Keep Important Details inside the Safe Area
Move the logo, text, and essential symbols inward from the cut line. Thin frames and closely placed text make small cutting variations more obvious. Extra breathing room improves safety and visual balance.
Plan White Borders Carefully
Die-cut logo stickers often use a white outline around the artwork. This border separates the logo from the surface and gives the cutter room to follow the shape.
Prepare Colors for Sticker Printing
Screen colors are produced with light, while printed colors depend on ink, material, coating, and surrounding conditions. A color that appears bright on a monitor may print darker, softer, or less saturated.
Confirm RGB or CMYK Requirements
Some print providers request CMYK files, while others prefer RGB uploads and handle conversion internally. Follow the printer’s specifications rather than applying one rule to every service. When converting from RGB to CMYK, check bright blues, greens, oranges, and fluorescent tones carefully. These colors often shift because they may sit outside the printable CMYK range.
Review Brand Color Accuracy
If consistency matters, provide approved color values or Pantone references when accepted. A printed proof is especially useful for large orders, packaging, or retail use. Results can vary across printers and materials, so approve a proof that remains clearly on-brand.
Account for White, Clear, or Metallic Materials
Clear, kraft, holographic, silver, and gold stocks influence printed colors. Transparent areas may reveal the object underneath, while metallic materials can add shine through lighter inks. Clear stickers may need a white ink layer beneath the logo to keep colors opaque. Ask the printer how that layer should be prepared before submitting the file.
Select a Suitable Sticker Material and Finish
Sticker stock should support the logo and its intended conditions. Material and finish affect contrast, texture, color depth, and durability.
Paper Stickers
Paper stickers work well for envelopes, boxes, product packaging, and other indoor uses. They are often economical and can create a natural or handcrafted feel.
Vinyl Stickers
Vinyl is commonly used for bottles, laptops, equipment, windows, and outdoor applications. It usually handles moisture and repeated contact more effectively than standard paper.
Matte, Gloss, and Specialty Finishes
Matte reduces reflections and creates a softer appearance. Gloss adds shine and often makes colors look richer. Holographic, metallic, and textured finishes introduce decorative effects but may compete with detailed artwork.
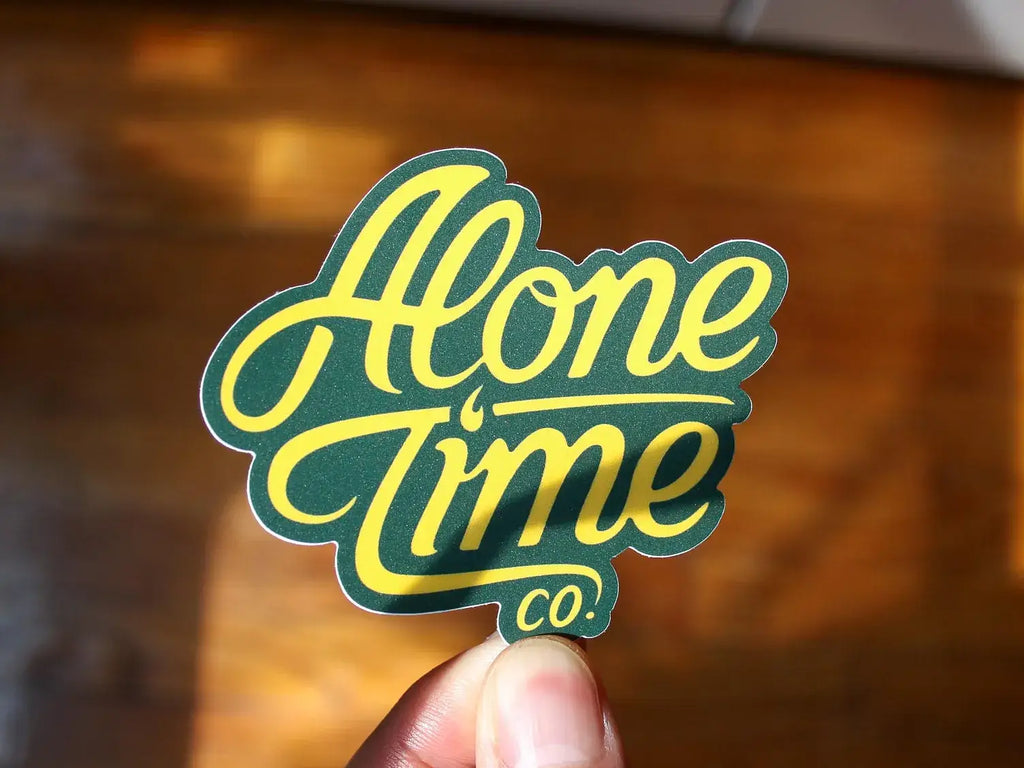
Source: Eric Lee, Alone Time Co, Dribbble, https://dribbble.com/shots/18750281-Alone-Time-Co
Export and Review the Print-Ready Artwork
Before uploading the design, complete a final preflight check. This stage catches costly technical problems before production begins.
Follow the Printer’s Template
Use the printer’s official template for size, bleed, safe area, cut line, color mode, and file format. Keep cut paths on the requested layer and use the required stroke settings for custom cutting.
Inspect the Artwork at Actual Size
View the sticker at 100 percent scale. Check small text, thin lines, transparency, contrast, spacing, and edge quality. Hide guides temporarily to see the finished design without technical markings.
Order a Printed Proof
For a large run, order one sample or a small batch first. Apply it to the intended surface and assess the color, scale, adhesion, and finish under normal lighting. A proof is more reliable than an on-screen mockup.
Avoid Common Logo Sticker Printing Problems
Most sticker printing problems come from preventable setup errors. Low-resolution files create fuzzy edges, missing bleed can leave white slivers, and important details near the cut line may be trimmed. Thin strokes can break apart, while small lettering may become unreadable. Color surprises often occur when screen previews are treated as exact print predictions. Clear, kraft, and metallic materials can also change the result. Choosing an adhesive without considering the surface is another common mistake.
Conclusion
A successful logo sticker begins with a clear purpose and a carefully prepared file. Define the surface and viewing conditions, choose the final size and shape, simplify details where necessary, and build the artwork with proper bleed and safe areas. Then review the color setup, material, finish, adhesive, and export settings. When you print logo on stickers, every technical choice influences how the brand appears in the real world. Even a small label can make a strong impression when the logo remains sharp, balanced, readable, and consistent. Treat the first printed sample as part of the design process. Testing it on the intended surface helps you approve a larger run with confidence and ensures the finished sticker represents the brand accurately.
Let Us Know What You Think!
Every information you read here are written and curated by Kreafolk's team, carefully pieced together with our creative community in mind. Did you enjoy our contents? Leave a comment below and share your thoughts. Cheers to more creative articles and inspirations!
Related Articles


Leave a Comment