How to Print Logo Designs on Plastic

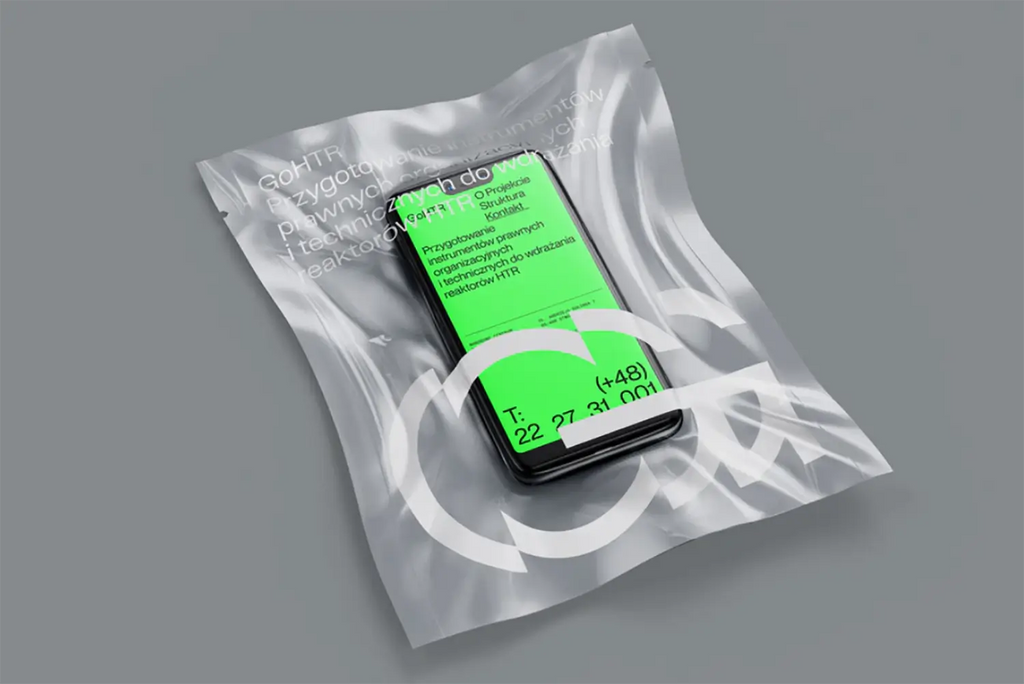
Source: Jaroslaw Dziubek, GoHTR, Behance, https://www.behance.net/gallery/116587601/GoHTR-branding
Printing logo designs on plastic surfaces presents a unique set of challenges and opportunities for designers and businesses alike. Whether it's for promotional items, packaging, or durable goods, the ability to effectively print on plastic can greatly enhance a product's aesthetic appeal and brand recognition. This process involves understanding the specific properties of different plastic materials and choosing the right printing techniques to ensure that the logo adheres well and retains its color and detail over time.
From selecting the appropriate inks and treatments to mastering the intricacies of various printing methods such as digital, screen, or pad printing, every step needs to be carefully planned and executed. This article provides a detailed guide on how to print logo designs on plastic, offering practical tips and expert advice to help you achieve optimal results. Whether you're a seasoned professional or new to the field of printing, these insights will equip you with the knowledge to navigate the complexities of plastic printing effectively.
Understand Plastic Substrate Options
Choosing the right plastic substrate is fundamental in achieving high-quality prints for your logo designs. The type of plastic you select can greatly influence the printability, durability, and overall appearance of the final product. Common plastics used in printing include polyvinyl chloride (PVC), polyethylene (PE), and polycarbonate (PC), each with distinct characteristics.
PVC is versatile and provides excellent ink adhesion, making it ideal for a variety of printing applications. It is durable and resistant to both environmental changes and chemical exposure, which makes it suitable for outdoor products.
Polyethylene is known for its flexibility and is often used in packaging. It has a somewhat porous surface, which can pose challenges in ink adhesion but can be overcome with proper surface treatment before printing.
Polycarbonate offers superior impact resistance and clarity, which is perfect for creating durable and visually striking prints. However, it requires precise printing techniques to maintain its clarity and prevent ink from cracking.
When selecting a plastic substrate, consider the end use of the product. For example, if the item will be exposed to harsh conditions, choose a substrate with higher durability and resistance to UV light and temperatures. Additionally, understanding the recycling codes and environmental impact of each plastic type can also play a crucial role in your selection process, particularly if sustainability is a concern for your brand or project.
Select the Right Printing Method
Selecting the appropriate printing method is crucial for effectively transferring your logo designs onto plastic substrates. The choice of method depends on the type of plastic, the complexity of the design, the quantity of prints needed, and the desired quality and durability of the final product.
Digital printing is a versatile option that allows for high-detail and multi-colored designs on plastic. It is suitable for short runs and can accommodate changes easily, making it ideal for custom or limited-edition items.
Screen printing is another popular method, especially for larger batches. It involves pushing ink through a mesh stencil onto the substrate. This method is cost-effective for high-volume orders and produces vibrant, durable colors that are ideal for logos that use fewer colors.
Pad printing is used for printing on three-dimensional or irregular surfaces. It transfers the ink from a silicone pad onto the plastic, allowing for precise application on intricate details and textures.
Each printing method has its own set of advantages and limitations. Digital printing offers precision and flexibility but may cost more per unit for large orders. Screen printing provides durability and economic efficiency for larger volumes but is less adaptable to complex color patterns. Pad printing excels in detailed and textured prints but might not be the best for large areas or extremely fine detail.
Understanding these methods will help you choose the right one for your project, based on your specific needs and the characteristics of your logo design. Always consider conducting preliminary tests to ensure the chosen method meets your quality standards and adheres well to your selected plastic substrate.
Prepare the Design File Appropriately
When preparing to print logo designs on plastic, it is crucial to properly prepare your design files to ensure the final print is sharp and accurate. Begin by creating your logo in a vector format using software like Adobe Illustrator. Vector files are essential as they allow for scaling up or down without any loss of quality, which is particularly important for maintaining the integrity of your design on varying sizes of plastic products.
Ensure that all elements of the logo are converted to outlines to prevent any font mismatches during the printing process. Additionally, consider the color model appropriate for your printing method. For plastic printing, typically CMYK color mode is used rather than RGB, which is more suited for digital displays. This conversion is vital for achieving the correct color output since colors can appear differently on plastic surfaces compared to a computer screen.
Furthermore, it’s important to simplify your design to avoid issues during the printing process. This means minimizing the number of colors and fine details that might not translate well to a rougher plastic surface. Also, increase the contrast between colors to ensure that all elements of the logo are distinguishable once printed.

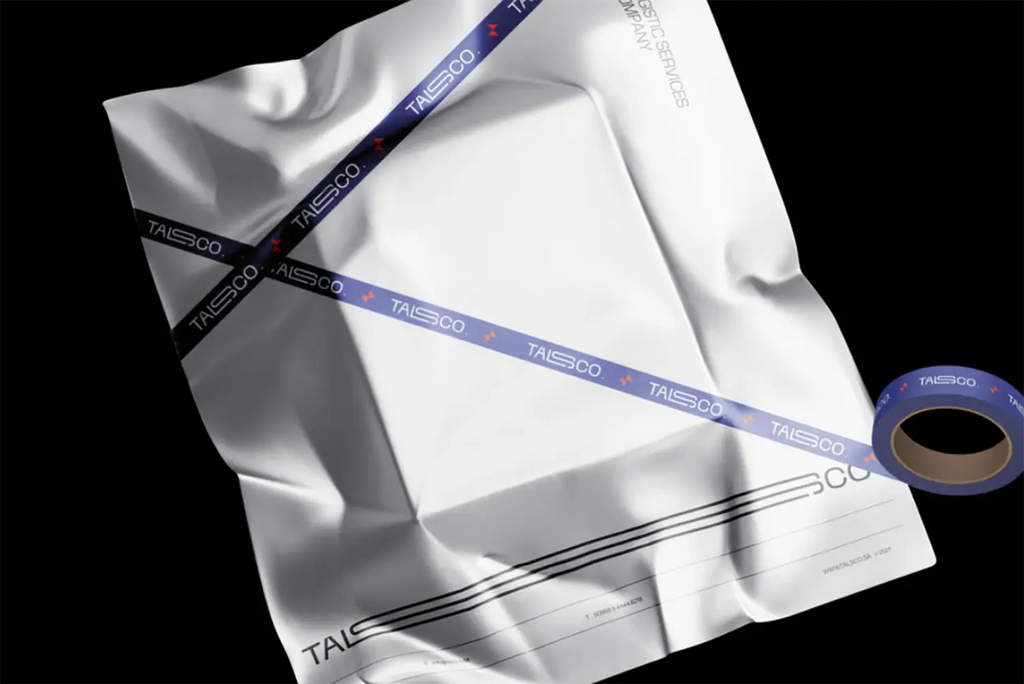
Source: Abdullah Alqeneh, Talsco Logistic - KSA, Behance, https://www.behance.net/gallery/135907091/Talsco-Logistic-KSA
Use Suitable Inks
Selecting the right inks is essential for printing logo designs on plastic, as the choice of ink impacts not only the appearance of the final product but also its durability and resistance to environmental factors. For plastic surfaces, solvent-based or UV-curable inks are often preferred because they provide excellent adhesion and can withstand exposure to the elements without fading or smearing.
Solvent-based inks penetrate the surface of the plastic, creating a bond that is highly durable and scratch-resistant. These inks are ideal for products that will be used outdoors or in harsh environments. However, it is important to ensure proper ventilation during the printing process due to the volatile organic compounds (VOCs) these inks can emit.
UV-curable inks, on the other hand, are cured and hardened by exposure to ultraviolet light, resulting in a robust and resistant print. This type of ink is particularly effective for high-detail prints on rigid or flexible plastics. UV inks also have the advantage of being more environmentally friendly, as they do not contain solvents and produce fewer emissions.
Regardless of the ink type selected, conducting a test print on the plastic substrate is crucial to evaluate the ink’s performance, including adhesion, color accuracy, and resistance to fading. This step ensures that the selected inks will meet the specific requirements of your logo design and the intended use of the printed plastic items.
Consider Ink Curing Methods
The curing process is a critical step in printing logo designs on plastic, as it ensures the durability and adherence of the ink to the substrate. There are primarily two common curing methods used in the industry: UV curing and conventional solvent drying.
UV curing involves exposing the printed ink to ultraviolet light, which quickly hardens the ink. This method is highly effective for plastic substrates because it offers a rapid curing time and results in a robust, scratch-resistant finish. UV-cured inks are less prone to fading and can withstand harsh environmental conditions, making them ideal for outdoor applications. Additionally, UV curing is more environmentally friendly as it does not involve volatile organic compounds (VOCs).
Conventional solvent drying, on the other hand, relies on the evaporation of solvents in the ink to leave behind a hardened colorant on the plastic. While this method is more traditional and can be used with a variety of inks, it requires longer drying times and adequate ventilation to prevent the accumulation of harmful fumes.
Selecting the right curing method depends on the specific requirements of your project, including the type of plastic substrate, the expected usage conditions of the printed item, and your production capabilities. It is essential to match the ink and curing method to the material to avoid issues such as ink peeling, cracking, or color distortion.
Test for Adhesion
Testing for adhesion is an essential step in the process of printing logo designs on plastic. This test ensures that the ink adheres properly to the plastic substrate and will endure the conditions under which the product will be used. Adhesion testing can help avoid potential issues such as peeling, blistering, or flaking, which can compromise the quality and durability of the printed logo.
The most common method for adhesion testing is the tape test. After the ink has been applied and cured, a piece of adhesive tape is firmly applied to the surface of the print. The tape is then quickly removed to see if any ink comes off with the tape. Ideally, no ink should peel off with the tape, indicating good adhesion.
Another method is the cross-hatch test, which involves etching a grid pattern into the inked surface, applying tape, and then removing it. The amount of ink removed with the tape indicates the quality of the adhesion.
It's important to conduct these tests under conditions that mimic the actual use of the product, including variations in temperature and humidity. For products that will be exposed to chemicals or mechanical wear, additional tests might be required to ensure the ink withstands these stresses.
Regular adhesion testing throughout the production process can help maintain consistent quality and prevent defects, ensuring that the printed logos on plastic products meet or exceed expectations. This proactive approach saves time and resources by addressing potential issues before full-scale production begins.
Apply Primer or Pre-Treatment
To achieve optimal adhesion and quality when printing logo designs on plastic, applying a primer or pre-treatment to the substrate can be essential. This preparatory step enhances the surface energy of the plastic, making it more receptive to inks and ensuring that the print adheres better and lasts longer.
Primers are particularly useful for plastics with low surface energy, such as polyethylene and polypropylene, where ink adhesion can be challenging. The primer acts as an intermediary layer that bridges the ink and the plastic, improving bond strength and print durability. It can be applied via spraying, dipping, or brushing, depending on the size and shape of the substrate and the specific requirements of the project.
Pre-treatment methods like corona, flame, and plasma treatments alter the surface characteristics of the plastic at a molecular level. These treatments effectively increase the surface energy and wettability of the plastic, which facilitates better ink spread and adhesion. Corona treatment is especially popular for treating large areas efficiently, making it ideal for industrial applications.
It's important to choose the right type of primer or pre-treatment method based on the type of plastic and the specific requirements of your printing process. Testing the treated surface before proceeding with the full-scale printing is crucial to ensure that the treatment has been effective and that the ink will adhere properly throughout the life of the printed product.

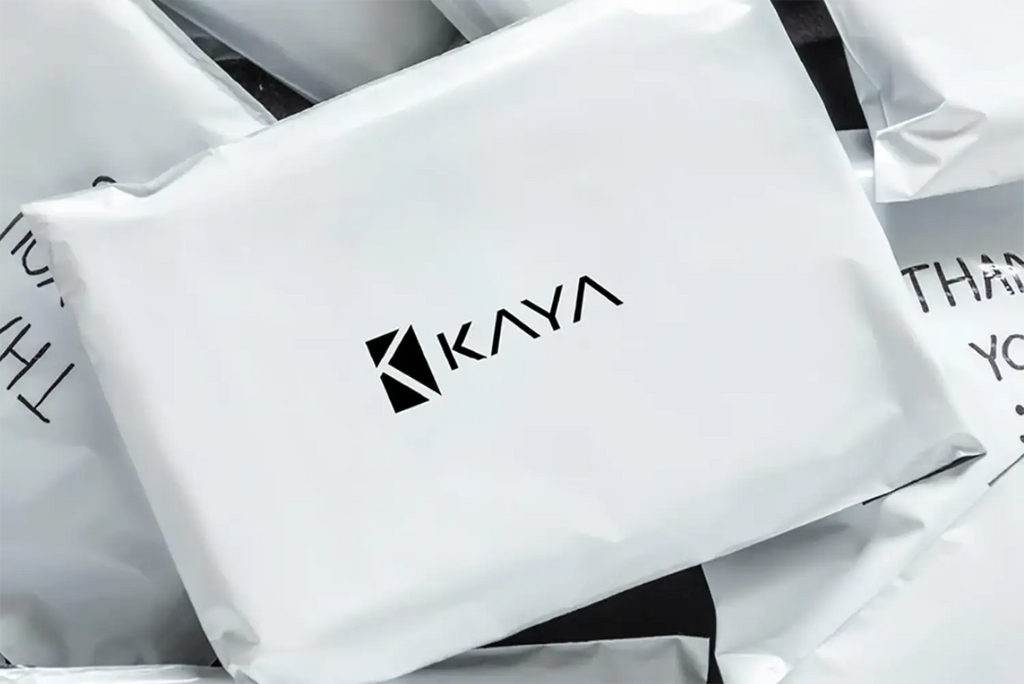
Source: Ahad Graphics, KAYA, Behance, https://www.behance.net/gallery/160615541/KAYA-Logistics-company-Logo
Plan for High Resolution
Planning for high resolution in printing logo designs on plastic is crucial for achieving sharp, clear, and vibrant results. High-resolution printing ensures that all the details of the logo are accurately reproduced, especially when working with intricate designs or small text.
To start, ensure that your logo design is created in a vector format. Vector files maintain clarity at any size, allowing for adjustments without loss of detail, which is vital for high-resolution printing. When setting up your design file, aim for a resolution of at least 300 dots per inch (DPI), although higher values like 600 DPI may be necessary for exceptionally detailed graphics.
The choice of printing technology also affects resolution. Digital printing technologies, such as inkjet or laser, can offer very high resolutions and are capable of producing fine details with a wide range of colors. These technologies are particularly suited for complex logos or images that require gradient fills or subtle shading.
Additionally, consider the color management techniques, as accurate color reproduction is an integral part of high-resolution printing. Utilize color calibration tools and software to match the colors of the logo as closely as possible to your original design, ensuring consistency across different batches.
Finally, consult with your printing provider about the capabilities of their equipment and the best practices for preparing files to maximize the resolution and quality of your printed logos on plastic. This collaboration will help you avoid common pitfalls and achieve the best possible outcome for your branding materials.
Manage Drying Times
Managing drying times is crucial when printing logo designs on plastic to ensure that the ink sets correctly and the final product is of high quality. Different inks and printing methods require specific drying times which must be carefully adhered to avoid smudging, offsetting, or incomplete curing.
For solvent-based inks, it is essential to allow enough time for the solvents to evaporate completely before handling or further processing the printed items. This process can be accelerated using forced air drying systems or heat, depending on the ink and substrate specifications.
UV-curable inks, on the other hand, require exposure to UV light to harden. Although the curing process is typically much faster than solvent evaporation, it is important to ensure that the UV light adequately covers the entire printed area to achieve uniform curing. Inadequate UV exposure can lead to uncured patches that may affect the durability and appearance of the print.
It is also vital to consider the ambient conditions, such as temperature and humidity, as they can significantly impact the drying and curing times. Higher humidity can prolong the drying time of solvent-based inks, whereas high temperatures can speed up the process but may also cause issues like ink bleeding.
Properly managing the drying and curing times not only enhances the durability and aesthetic quality of the printed logos but also increases the efficiency of the production process by reducing errors and waste. Always refer to the ink manufacturer’s guidelines and perform tests under your specific production conditions to optimize drying times.
Conduct Quality Checks
Conducting quality checks throughout the printing process is essential to ensure that logo designs on plastic are produced to the highest standards. Quality control involves several stages, from the initial setup to the final inspection of the printed items.
Start by verifying that the printing equipment is calibrated correctly and that the plastic substrate is prepared adequately. This preparation includes cleaning the surface to remove any contaminants and applying any necessary treatments to enhance ink adhesion.
During the printing process, periodically inspect the first few prints for clarity, color accuracy, and adhesion. This early detection allows you to make necessary adjustments to the print settings or ink formulation before proceeding with the full production run, saving time and reducing material waste.
After printing, conduct further inspections to check for any defects such as smudging, misalignment, or color discrepancies. Use standardized lighting conditions to ensure that colors are assessed accurately. Additionally, employ tools like magnifying glasses or digital microscopes to examine fine details and ensure that even the smallest elements of the logo are printed correctly.
Finally, implement a routine for documenting all quality checks and outcomes. This documentation can be invaluable for troubleshooting recurring issues and improving the printing process over time.
By maintaining strict quality control standards, you can ensure that each printed logo meets your expectations and the requirements of your clients, thereby enhancing the reputation of your products and services in the market.
Conclusion
Printing logo designs on plastic requires meticulous planning and execution to ensure high-quality results. From choosing the right substrate and ink to understanding the nuances of curing methods and conducting rigorous quality checks, each step is critical. By adhering to best practices and leveraging advanced printing technologies, you can achieve durable, vibrant, and precise logos that enhance brand visibility and appeal. Remember, the key to successful plastic logo printing lies in attention to detail and continuous improvement based on feedback and testing. These efforts will ensure your printed logos stand out and withstand the demands of their intended applications.
Let Us Know What You Think!
Every information you read here are written and curated by Kreafolk's team, carefully pieced together with our creative community in mind. Did you enjoy our contents? Leave a comment below and share your thoughts. Cheers to more creative articles and inspirations!


Leave a Comment