How To Use Fountain Pen for Calligraphy

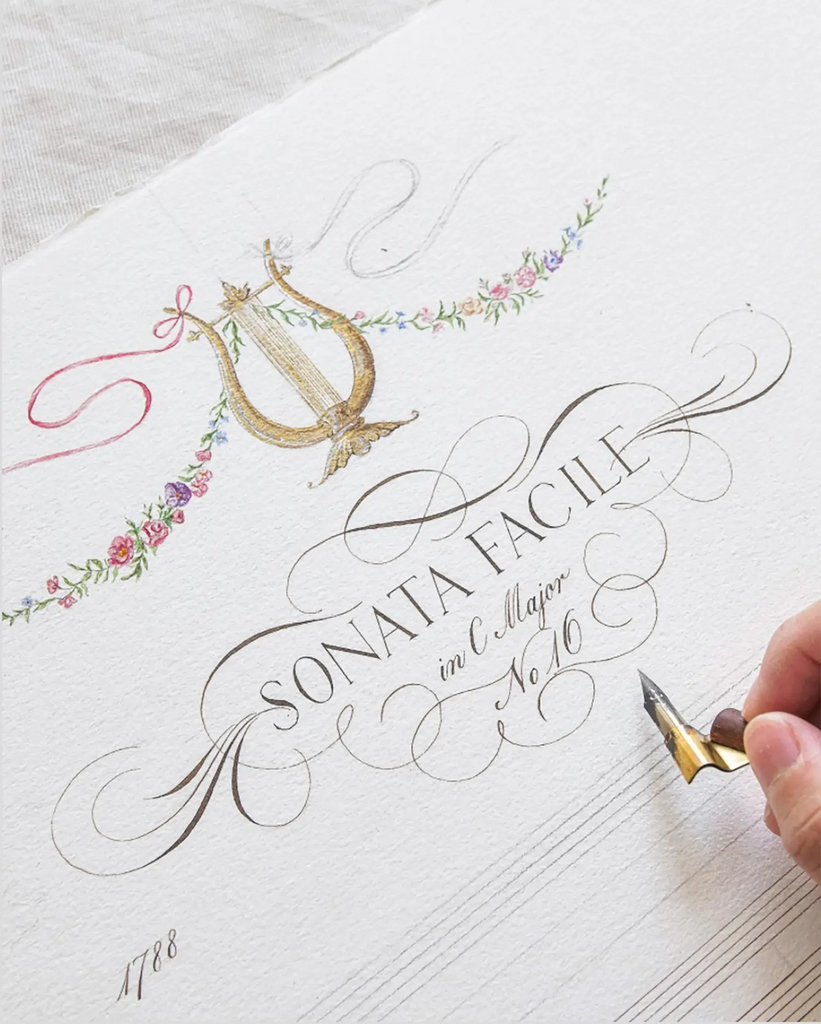
Source: Nikolietta_calligraphy, Instagram, https://www.instagram.com/p/CASPPHooYXs/
Calligraphy is a timeless art that requires precision, patience, and the right tools. Among the many writing instruments available, a fountain pen stands out as a versatile and elegant choice for mastering calligraphy. Unlike dip pens or brush pens, fountain pens offer a continuous ink flow, making them convenient and efficient for both beginners and experienced calligraphers.
Using a fountain pen for calligraphy requires an understanding of nib types, ink flow, and writing techniques. The flexibility of fountain pen nibs allows for smooth transitions between thick and thin strokes, creating beautifully crafted letters. With proper technique and the right materials, anyone can achieve professional-looking calligraphy while enjoying the fluidity of a well-made pen.
Beyond its functional benefits, calligraphy with a fountain pen is an art form that enhances creativity and handwriting skills. Whether for decorative projects, invitations, or personal journaling, calligraphy adds a touch of elegance to written communication. This guide will cover essential tips and techniques to help you master calligraphy with a fountain pen, from selecting the right tools to refining your writing style. By following these steps, you can elevate your calligraphy skills and experience the joy of expressive, artistic lettering.
Choose the Right Fountain Pen
Selecting the perfect fountain pen is a foundational step in exploring the art of calligraphy. For enthusiasts looking to express themselves through elegant handwriting, the choice of pen can significantly influence their artistry and experience. A high-quality fountain pen tailored for calligraphy often features a flexible nib and a consistent ink flow, both of which are crucial for creating those characteristic thin and thick lines.
When choosing a fountain pen for calligraphy, consider the weight and balance of the pen in your hand, as comfort plays a critical role during extended writing sessions. The material of the pen’s body—be it resin, metal, or wood—also impacts the overall feel and handling. Additionally, the size of the pen’s grip section should comfortably fit your fingers, ensuring precise control over intricate letter forms.
It's also essential to consider the type of nib, as some are better suited for calligraphy than others. Fountain pens with interchangeable nibs offer versatility, allowing you to experiment with various line widths and styles. Opt for a pen that supports a smooth ink delivery system to avoid interruptions and blotching, which can detract from the beauty of your calligraphic work. Ultimately, the right fountain pen for calligraphy not only enhances your writing experience but also helps cultivate your unique style, making each penned word a reflection of personal creativity.
Understand Nib Types
The nib is the heart of a fountain pen, especially when it comes to calligraphy. Different nib types provide distinct writing experiences and aesthetic outcomes, making it essential to understand their characteristics and uses. For calligraphy, the main types of nibs are italic, stub, and flex.
Italic nibs are cut straight across the tip, offering a sharp contrast between thin and thick lines, perfect for formal scripts like Gothic or Italic. These nibs are unforgiving when it comes to angle and pressure, requiring a steady hand and precise control.
Stub nibs, on the other hand, are rounded at the tip, providing a smoother writing experience. They produce a moderate line variation, making them ideal for beginner calligraphers or those who prefer a more forgiving nib for everyday artistic writing.
Flex nibs are celebrated for their ability to vary line width based on applied pressure. They can create dramatic transitions from thin to thick lines within a single stroke, adding depth and emotion to your calligraphy. Flex nibs demand a nuanced touch and a good understanding of pressure control, but they reward you with beautiful, expressive lettering.
Choosing the right nib type depends on your calligraphy style, comfort level, and the kind of scripts you wish to create. Experimenting with different nibs can significantly expand your calligraphic repertoire and enhance your fountain pen experience, pushing your creative boundaries further with each written word.
Use High-Quality Ink
Selecting the right ink is as crucial as choosing the perfect fountain pen for calligraphy. Inks not only contribute to the aesthetic of your calligraphy but also affect the performance of your fountain pen. When it comes to calligraphy, the ink's viscosity, drying time, and color saturation play pivotal roles in achieving beautiful, crisp lettering.
For fountain pen calligraphy, water-based inks are often recommended because they flow smoothly and are less likely to clog the nib and feed. These inks come in a wide range of vibrant colors, offering calligraphers the flexibility to express different moods and styles. However, it's essential to choose inks that are specifically formulated for fountain pens to avoid damage to the pen.
Pigmented inks are another popular choice for their rich color and opacity. They are ideal for projects that require bold, standout lettering but should be used with caution as they may require more frequent cleaning to prevent clogging.
For those interested in historical or traditional scripts, iron gall inks provide a unique option. These inks darken as they oxidize, offering a dynamic color change that can add an antique feel to your work. However, their acidic nature means they should be used with care to avoid corrosion in fountain pens.
Lastly, always consider the drying time of ink, especially if you are working on projects that may smudge. Faster-drying inks can help maintain the clarity and crispness of your calligraphy, ensuring each stroke remains distinct and impactful.

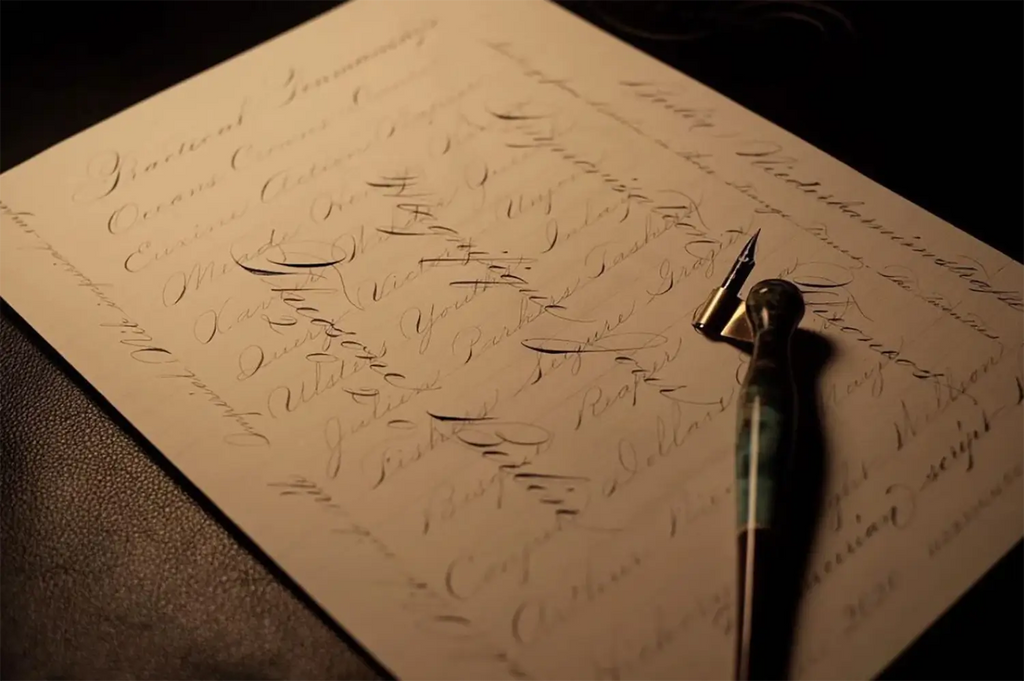
Source: Theosone, Instagram, https://www.instagram.com/p/CGS8kw3HhWq/
Select the Right Paper
Choosing the right paper is crucial when using a fountain pen for calligraphy. The wrong paper can lead to ink bleeding, feathering, and poor writing quality. Unlike ballpoint pens, fountain pens release more ink onto the surface, making paper selection essential for smooth, controlled strokes.
The best paper for calligraphy with a fountain pen should have a smooth texture and adequate thickness. Look for paper with a weight of at least 90gsm or higher to prevent ink from seeping through. Thick paper provides better ink absorption and minimizes smudging, ensuring crisp, well-defined lettering.
Coated or vellum-finish papers are ideal because they reduce ink feathering. Rough or textured paper may create inconsistent strokes and disrupt the ink flow, making it harder to achieve precision in calligraphy. Additionally, acid-free paper is recommended for long-lasting work, as it prevents ink from fading over time.
Another factor to consider is the drying time of the ink. Glossy or heavily coated paper may take longer for ink to dry, increasing the risk of smudging. Testing different paper types with your fountain pen can help determine which one works best for your specific writing style.
For beginners, practicing on dotted or lined calligraphy paper can help with letter consistency and alignment. High-quality fountain pen calligraphy paper enhances the writing experience, ensuring smooth ink flow, clean edges, and professional results. By selecting the right paper, you can elevate your calligraphy skills and create stunning, elegant lettering.
Basic Calligraphy Strokes with a Fountain Pen
Mastering basic calligraphy strokes is essential for anyone using a fountain pen for calligraphy. Each stroke with a fountain pen should be precise, as it forms the backbone of beautiful writing. Start with the fundamental downward stroke, where slight pressure on the pen creates a thick, bold line, ideal for vertical lines in letters like 'l' and 'b'. The upward stroke should be lighter, allowing the nib to gently release ink for thinner lines, crucial for characters such as 'i' and ’t'.
Next, focus on mastering the entrance stroke, which starts thin and increases in thickness as you push downward. This stroke is essential for connecting letters in scripts like cursive or italic. The exit stroke, conversely, begins thick and ends thin, facilitating smooth transitions between letters and words.
Ovals and loops require a seamless combination of upward and downward strokes, varying pressure to create elegant curves essential for letters like 'a', 'd', 'g', and 'q'. Practice these shapes diligently, as they help develop the rhythm and fluidity of your calligraphy.
To practice, use lined or dot-grid paper to help keep proportions consistent. Regular practice of these strokes will build muscle memory and control, enhancing your calligraphy's elegance and effectiveness. As your skills advance, you will be able to maintain consistent ink flow and pressure, hallmarks of proficient fountain pen calligraphy.
Letter Formation Techniques
Effective letter formation is crucial in fountain pen calligraphy, requiring a detailed understanding of how to handle the pen to achieve beautiful, consistent letters. Begin with learning how to form each letter individually, focusing on the basic structure and then adding stylistic elements like serifs or flourishes.
For successful letter formation, start with the basic skeleton of each letter. Practice forming the letter without any embellishments to understand its fundamental shape and proportions. Once comfortable, incorporate variations in line thickness by applying different pressures on the downward and upward strokes, characteristic of fountain pen usage.
Spacing between letters, known as kerning, is another critical aspect. Proper kerning ensures that the spacing between characters is visually pleasing and uniform. This involves adjusting the space based on the width and shape of letters, an essential skill for achieving a harmonious script.
Connecting letters smoothly is vital for scripts like cursive or interconnected styles. Practice joining letters in a flowing manner, ensuring that the exit stroke of one letter seamlessly meets the entrance stroke of the next. This technique not only enhances readability but also adds an artistic flair to your calligraphy.
Lastly, experiment with different styles by modifying the slant and curve of your letters. Each style will give a different emotion and tone to your writing, allowing you to personalize your calligraphy. Through continuous practice and exploration of these techniques, you'll develop a unique calligraphic style that showcases the versatility and beauty of fountain pen calligraphy.
Practice Drills for Improvement
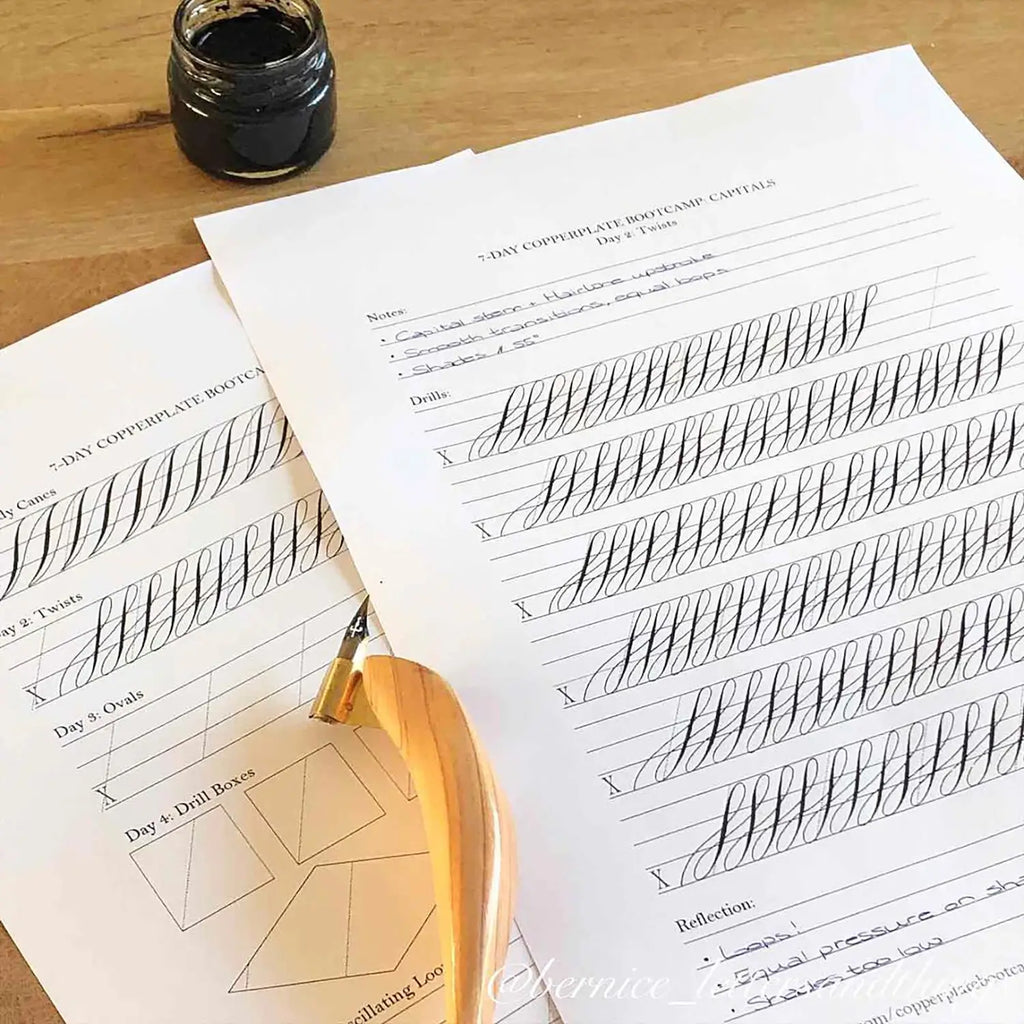
To enhance your fountain pen calligraphy skills, consistent practice with focused drills is essential. These exercises are designed to improve your control, stroke consistency, and letter formation. Start with basic line drills, creating rows of straight lines, both vertical and horizontal. This helps in stabilizing hand movements and improving ink flow control.
Next, incorporate shape drills such as loops, circles, and ovals. These are fundamental in forming various letter parts and help in developing fluidity and rhythm in your writing. Ensure each shape is uniform in size and shape to build muscle memory.
Transition to more complex drills that include full letterforms. Begin with individual letters, focusing on maintaining consistent pressure and stroke width. Gradually, move to connecting letters, then words, and finally sentences. This progression helps in understanding the dynamics between letters and how they interact in larger compositions.
Pressure drills are also crucial; practice applying different pressures with your fountain pen to see how it affects line thickness and style. Alternate between light and heavy strokes within a single drill to master the flexibility of your pen’s nib.
Finally, set aside time for reflective practice where you review your work, identify areas of improvement, and repeat specific drills to refine those skills. By dedicating time to these practice drills regularly, you'll see significant progress in your calligraphy prowess, leading to more beautiful and confident script.

Source: Bernice_lettersandthing, Instagram, https://www.instagram.com/p/Bwrcwq3H0DO/
Mixing Inks for Custom Colors
Mixing inks to create custom colors adds a unique dimension to fountain pen calligraphy, allowing you to personalize your artwork with signature shades. Before starting, ensure you are using inks compatible with each other to avoid clogging your fountain pen. Water-based inks generally mix well and offer a safer choice for fountain pens.
Begin with basic color theory: understand primary, secondary, and tertiary colors to predict the outcome of your mixes. Use a palette or mixing tray for your experiments, starting with small amounts to avoid wasting ink. Adding black or white ink can adjust the shade’s darkness or lightness, respectively.
For vibrant results, mix colors that are close on the color wheel. Contrasting colors, when mixed, tend to produce muted tones or browns, which can be desirable depending on your project. Always test the mixed ink on a scrap piece of paper similar to your project’s paper to see the true color when dry.
Keep detailed notes of your color mixing ratios and results. This can help you recreate the same hue in the future or adjust it with precision. Some calligraphers keep a mixing diary as a reference for their favorite blends.
Once satisfied with a custom color, fill your cleaned fountain pen and try a few strokes or a small project first to ensure the flow and color meet your expectations. Through mixing inks, you can expand your creative possibilities, making your calligraphy projects truly one-of-a-kind.
Developing Your Own Calligraphy Style
Developing a unique calligraphy style with a fountain pen is a creative journey that blends technique with personal expression. To cultivate your style, start by studying various calligraphy scripts, such as Italic, Copperplate, and Spencerian. Analyze their characteristics, and practice them thoroughly to understand their fundamentals.
Once comfortable with the basics, begin experimenting by altering aspects like slant, weight, and spacing. Adjusting these elements can dramatically change the appearance of a script. For instance, increasing the slant can add a sense of elegance and dynamism, while adjusting the weight of the strokes can make your writing appear bold and assertive.
Incorporating flourishes is another way to personalize your style. These decorative elements can be added to the beginning, middle, or end of words and letters. Start with simple flourishes, and as your control improves, try more complex designs. Flourishing requires a steady hand and a good understanding of spacing to keep the composition balanced.
Feedback is invaluable, so share your work with other calligraphers and gather their insights. This can provide new perspectives and inspire modifications that refine your style. Additionally, continuously seek inspiration from books, online resources, and historical texts.
Practice consistently with your fountain pen, exploring different inks and papers, which can also influence your style's development. Over time, your distinctive calligraphy style will emerge, characterized by your personal choices and the fluidity of the fountain pen.
Calligraphy Projects and Applications
Fountain pen calligraphy lends itself to a wide range of creative projects and applications, making it a versatile skill for personal and professional use. Traditional applications include designing elegant wedding invitations, event envelopes, and place cards that require a personal touch. Each piece can be customized with unique scripts and colors to match the theme of the event.
Personalized stationery, such as letterheads, business cards, and bookmarks, can also be enhanced with fountain pen calligraphy. These items make thoughtful gifts or professional business products that stand out. Additionally, creating beautiful framed quotes and poems can decorate home interiors or be given as meaningful gifts.
Beyond paper-based projects, calligraphy can be applied to a variety of surfaces like fabric, glass, and wood. This expands the possibilities to items like decorative pillows, customized glassware, and even bespoke furniture pieces featuring calligraphic art.
For those looking to share their skills, teaching calligraphy workshops or creating tutorial content can be fulfilling. This not only allows you to impart your knowledge but also to engage with a community of like-minded enthusiasts.
Moreover, digitalizing your calligraphy allows for reproduction on a larger scale, such as in book layouts, logo designs, and marketing materials. This can be particularly lucrative for professional calligraphers looking to expand their reach in commercial spaces.
With a fountain pen, the potential for calligraphy projects is nearly limitless, offering ample opportunities to transform simple words into stunning works of art. Whether for personal pleasure or professional endeavors, fountain pen calligraphy enhances any project with its timeless elegance.
Conclusion
Mastering calligraphy with a fountain pen requires the right tools, techniques, and consistent practice. From selecting a quality fountain pen and nib to choosing the best ink and paper, every detail plays a role in achieving smooth, elegant lettering. Understanding proper grip, stroke control, and ink flow ensures precision and enhances writing fluency. Whether you are a beginner or an experienced calligrapher, refining your skills through regular practice will lead to artistic and professional results. With patience and dedication, a fountain pen can become a powerful tool for creating beautiful, expressive calligraphy that stands out with elegance and style.
Let Us Know What You Think!
Every information you read here are written and curated by Kreafolk's team, carefully pieced together with our creative community in mind. Did you enjoy our contents? Leave a comment below and share your thoughts. Cheers to more creative articles and inspirations!


Leave a Comment